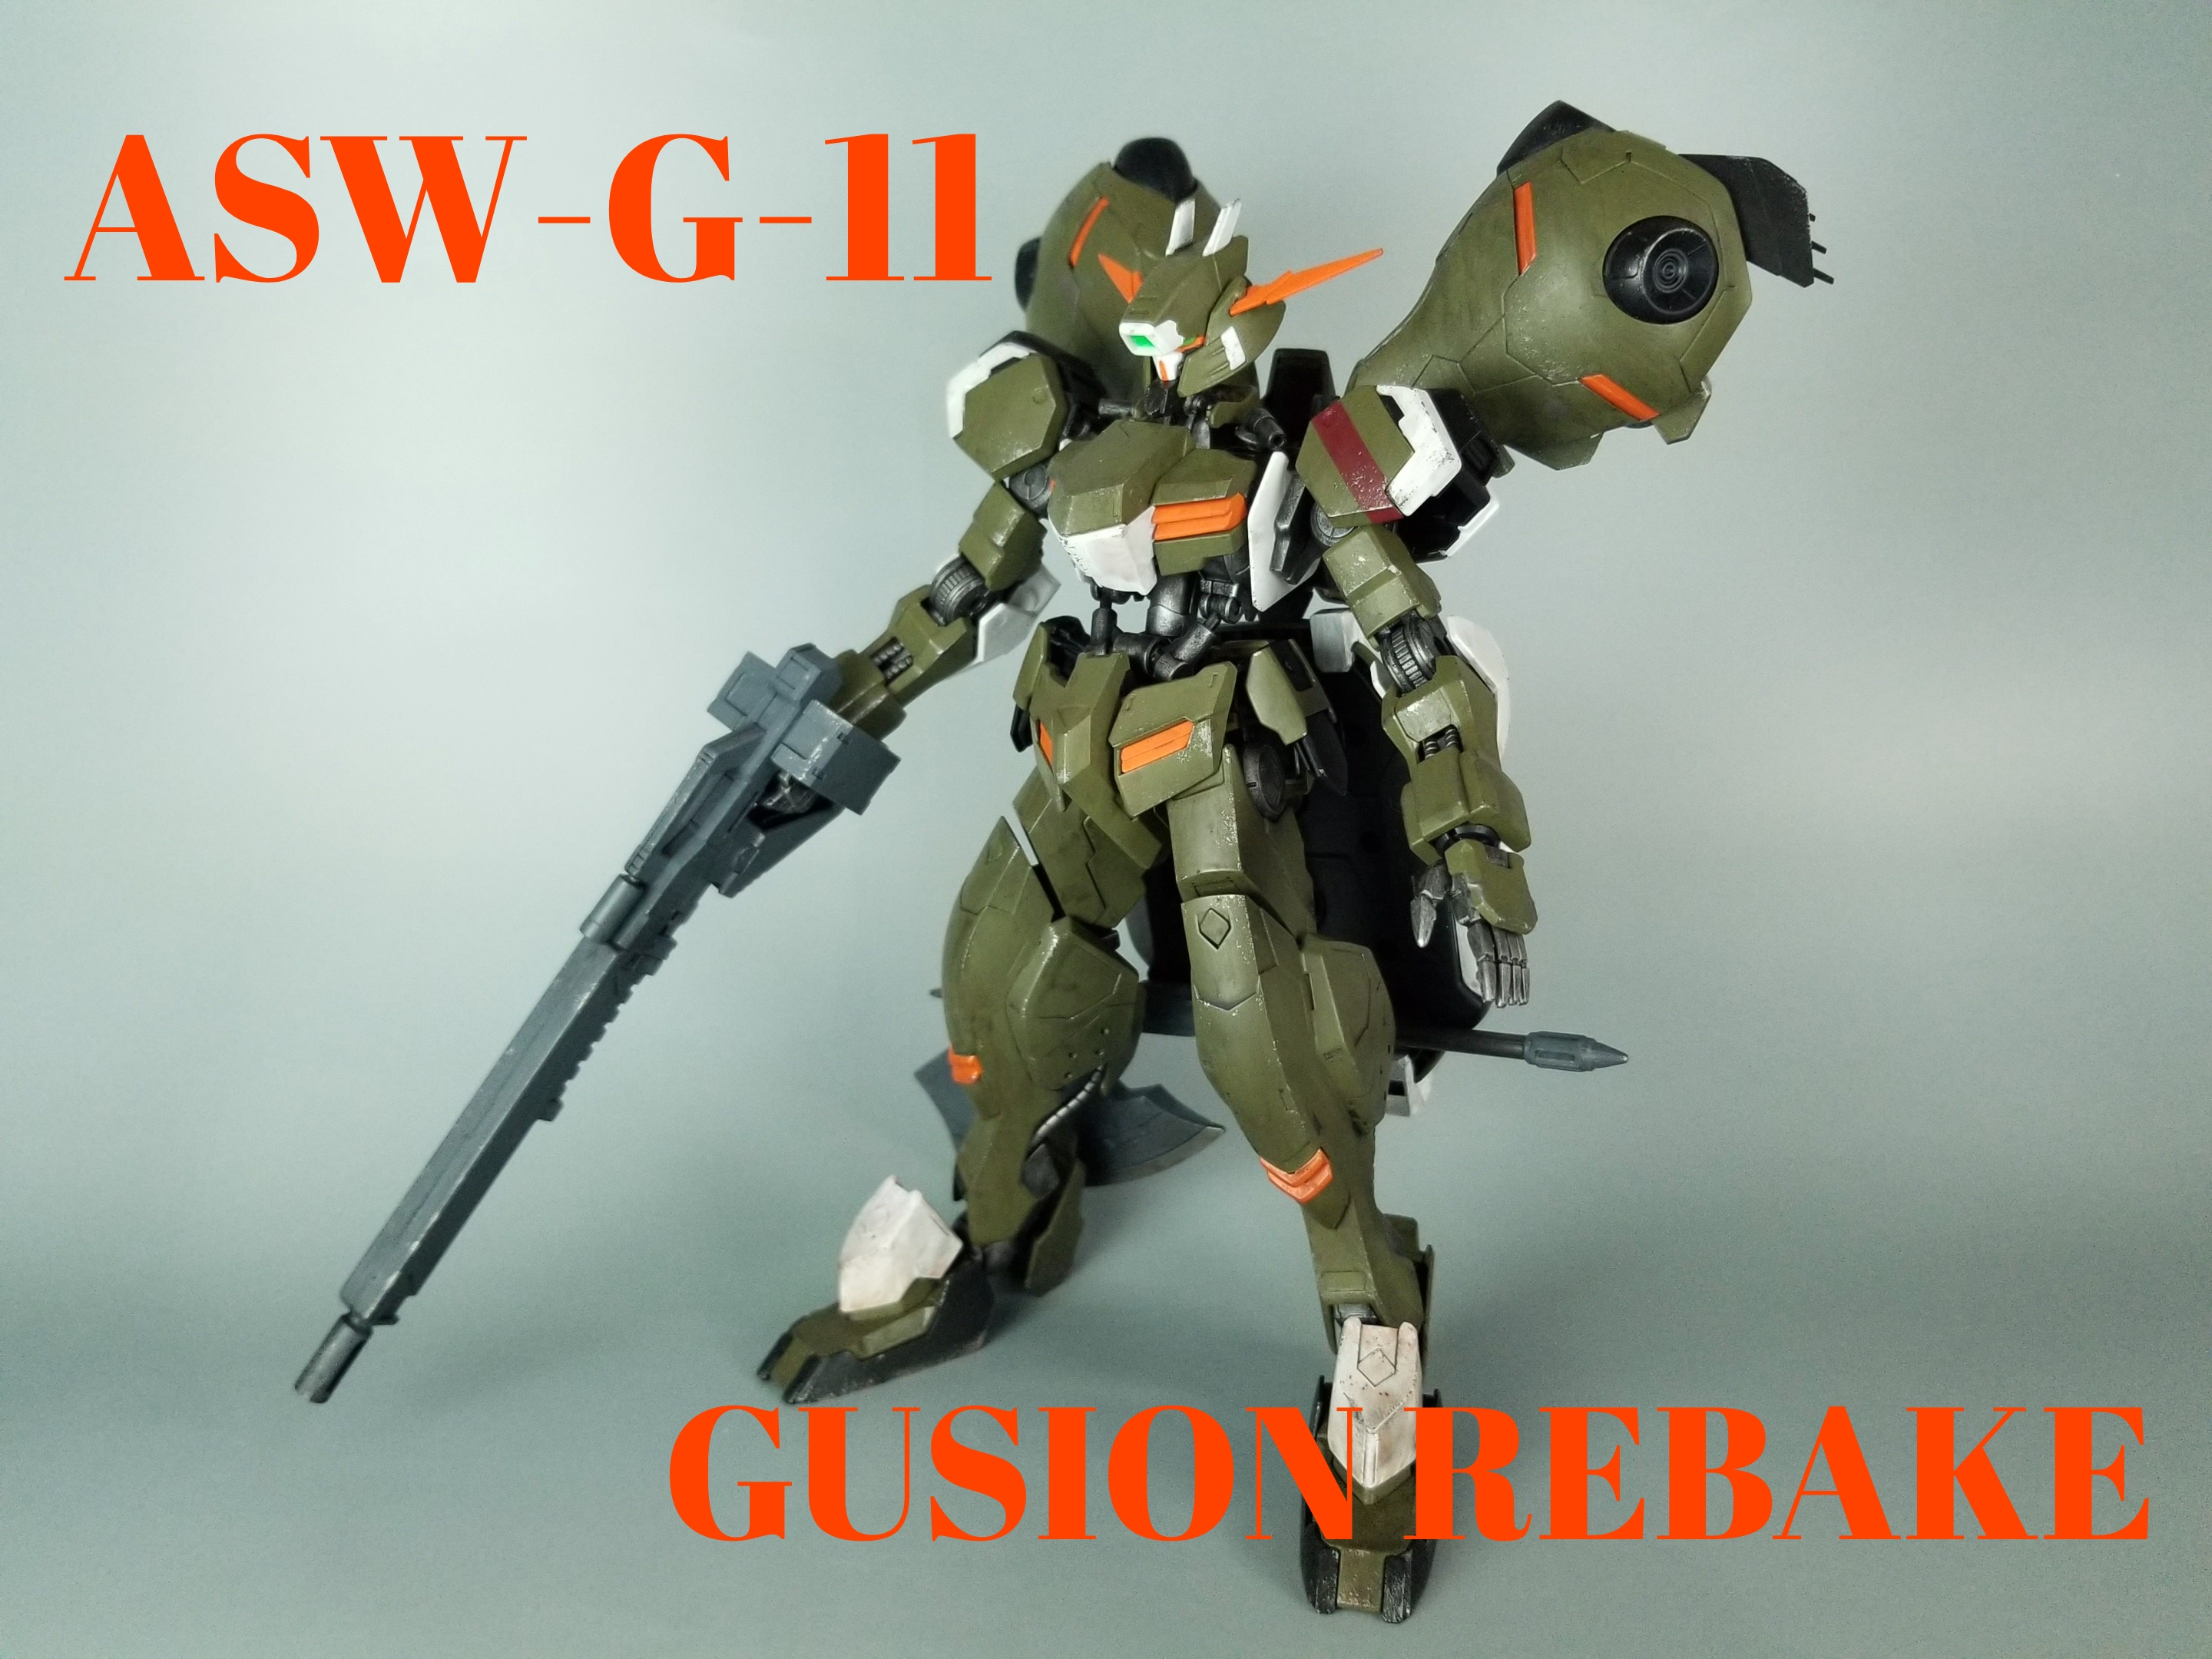
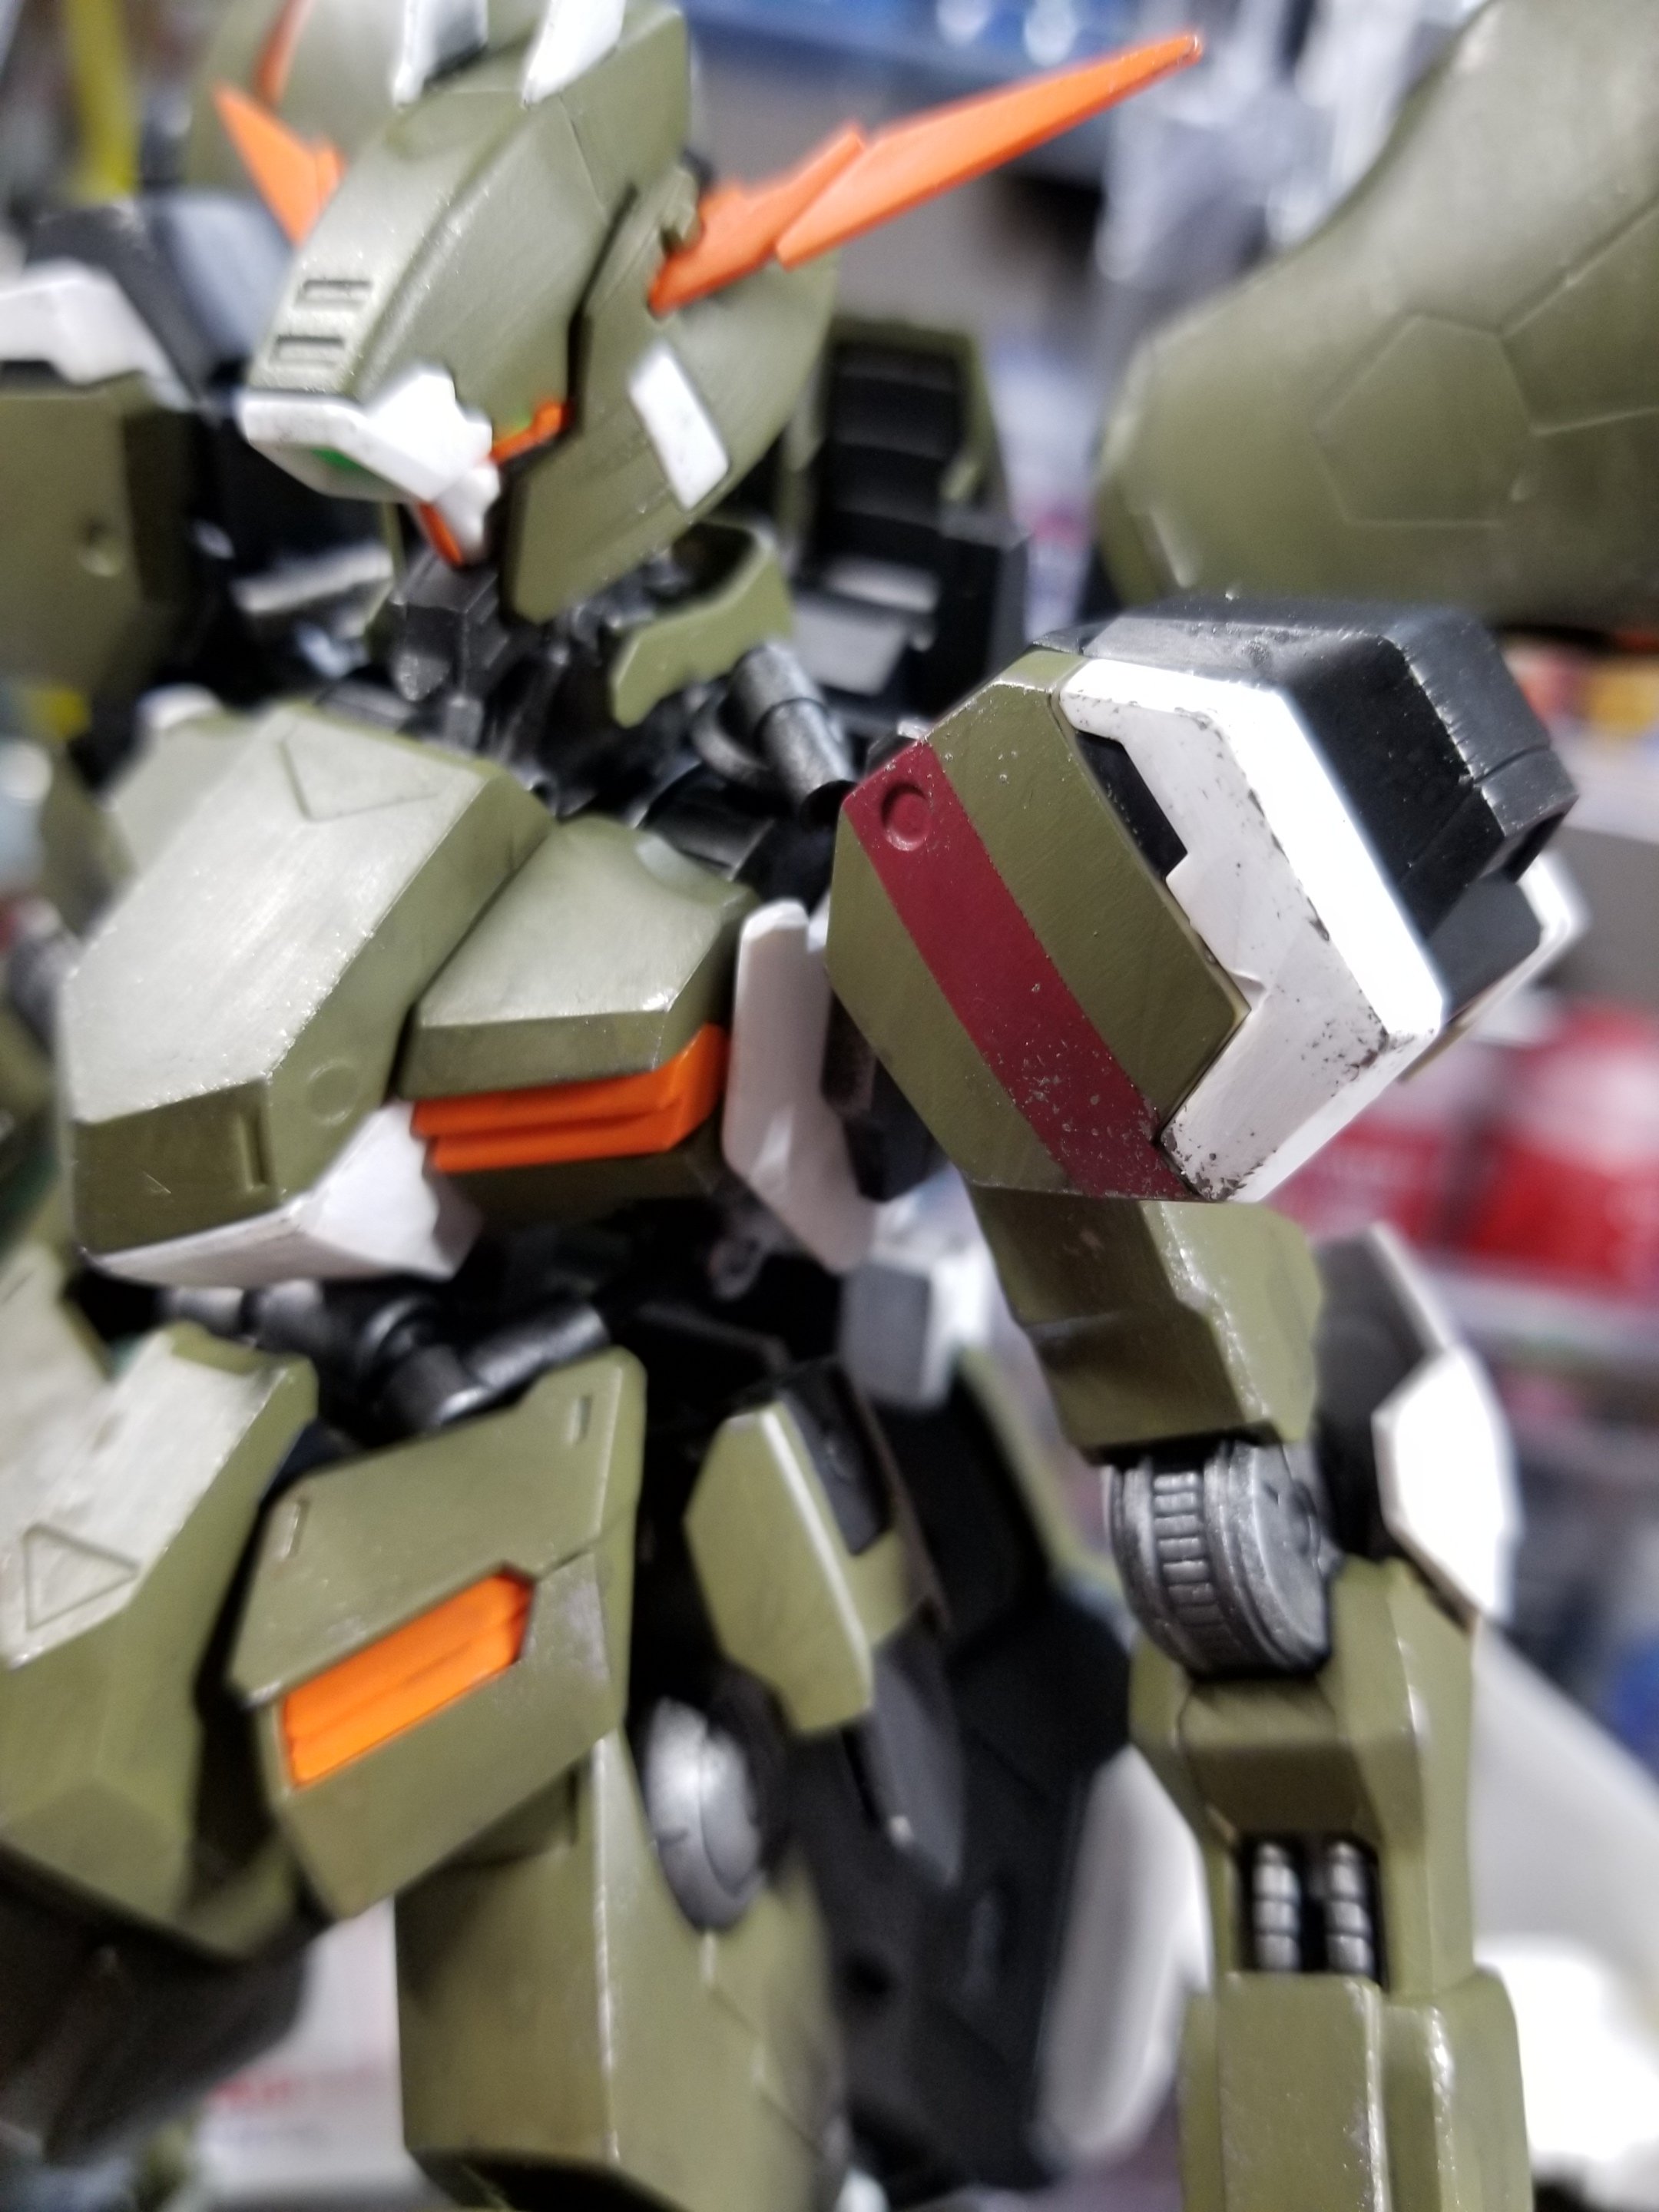
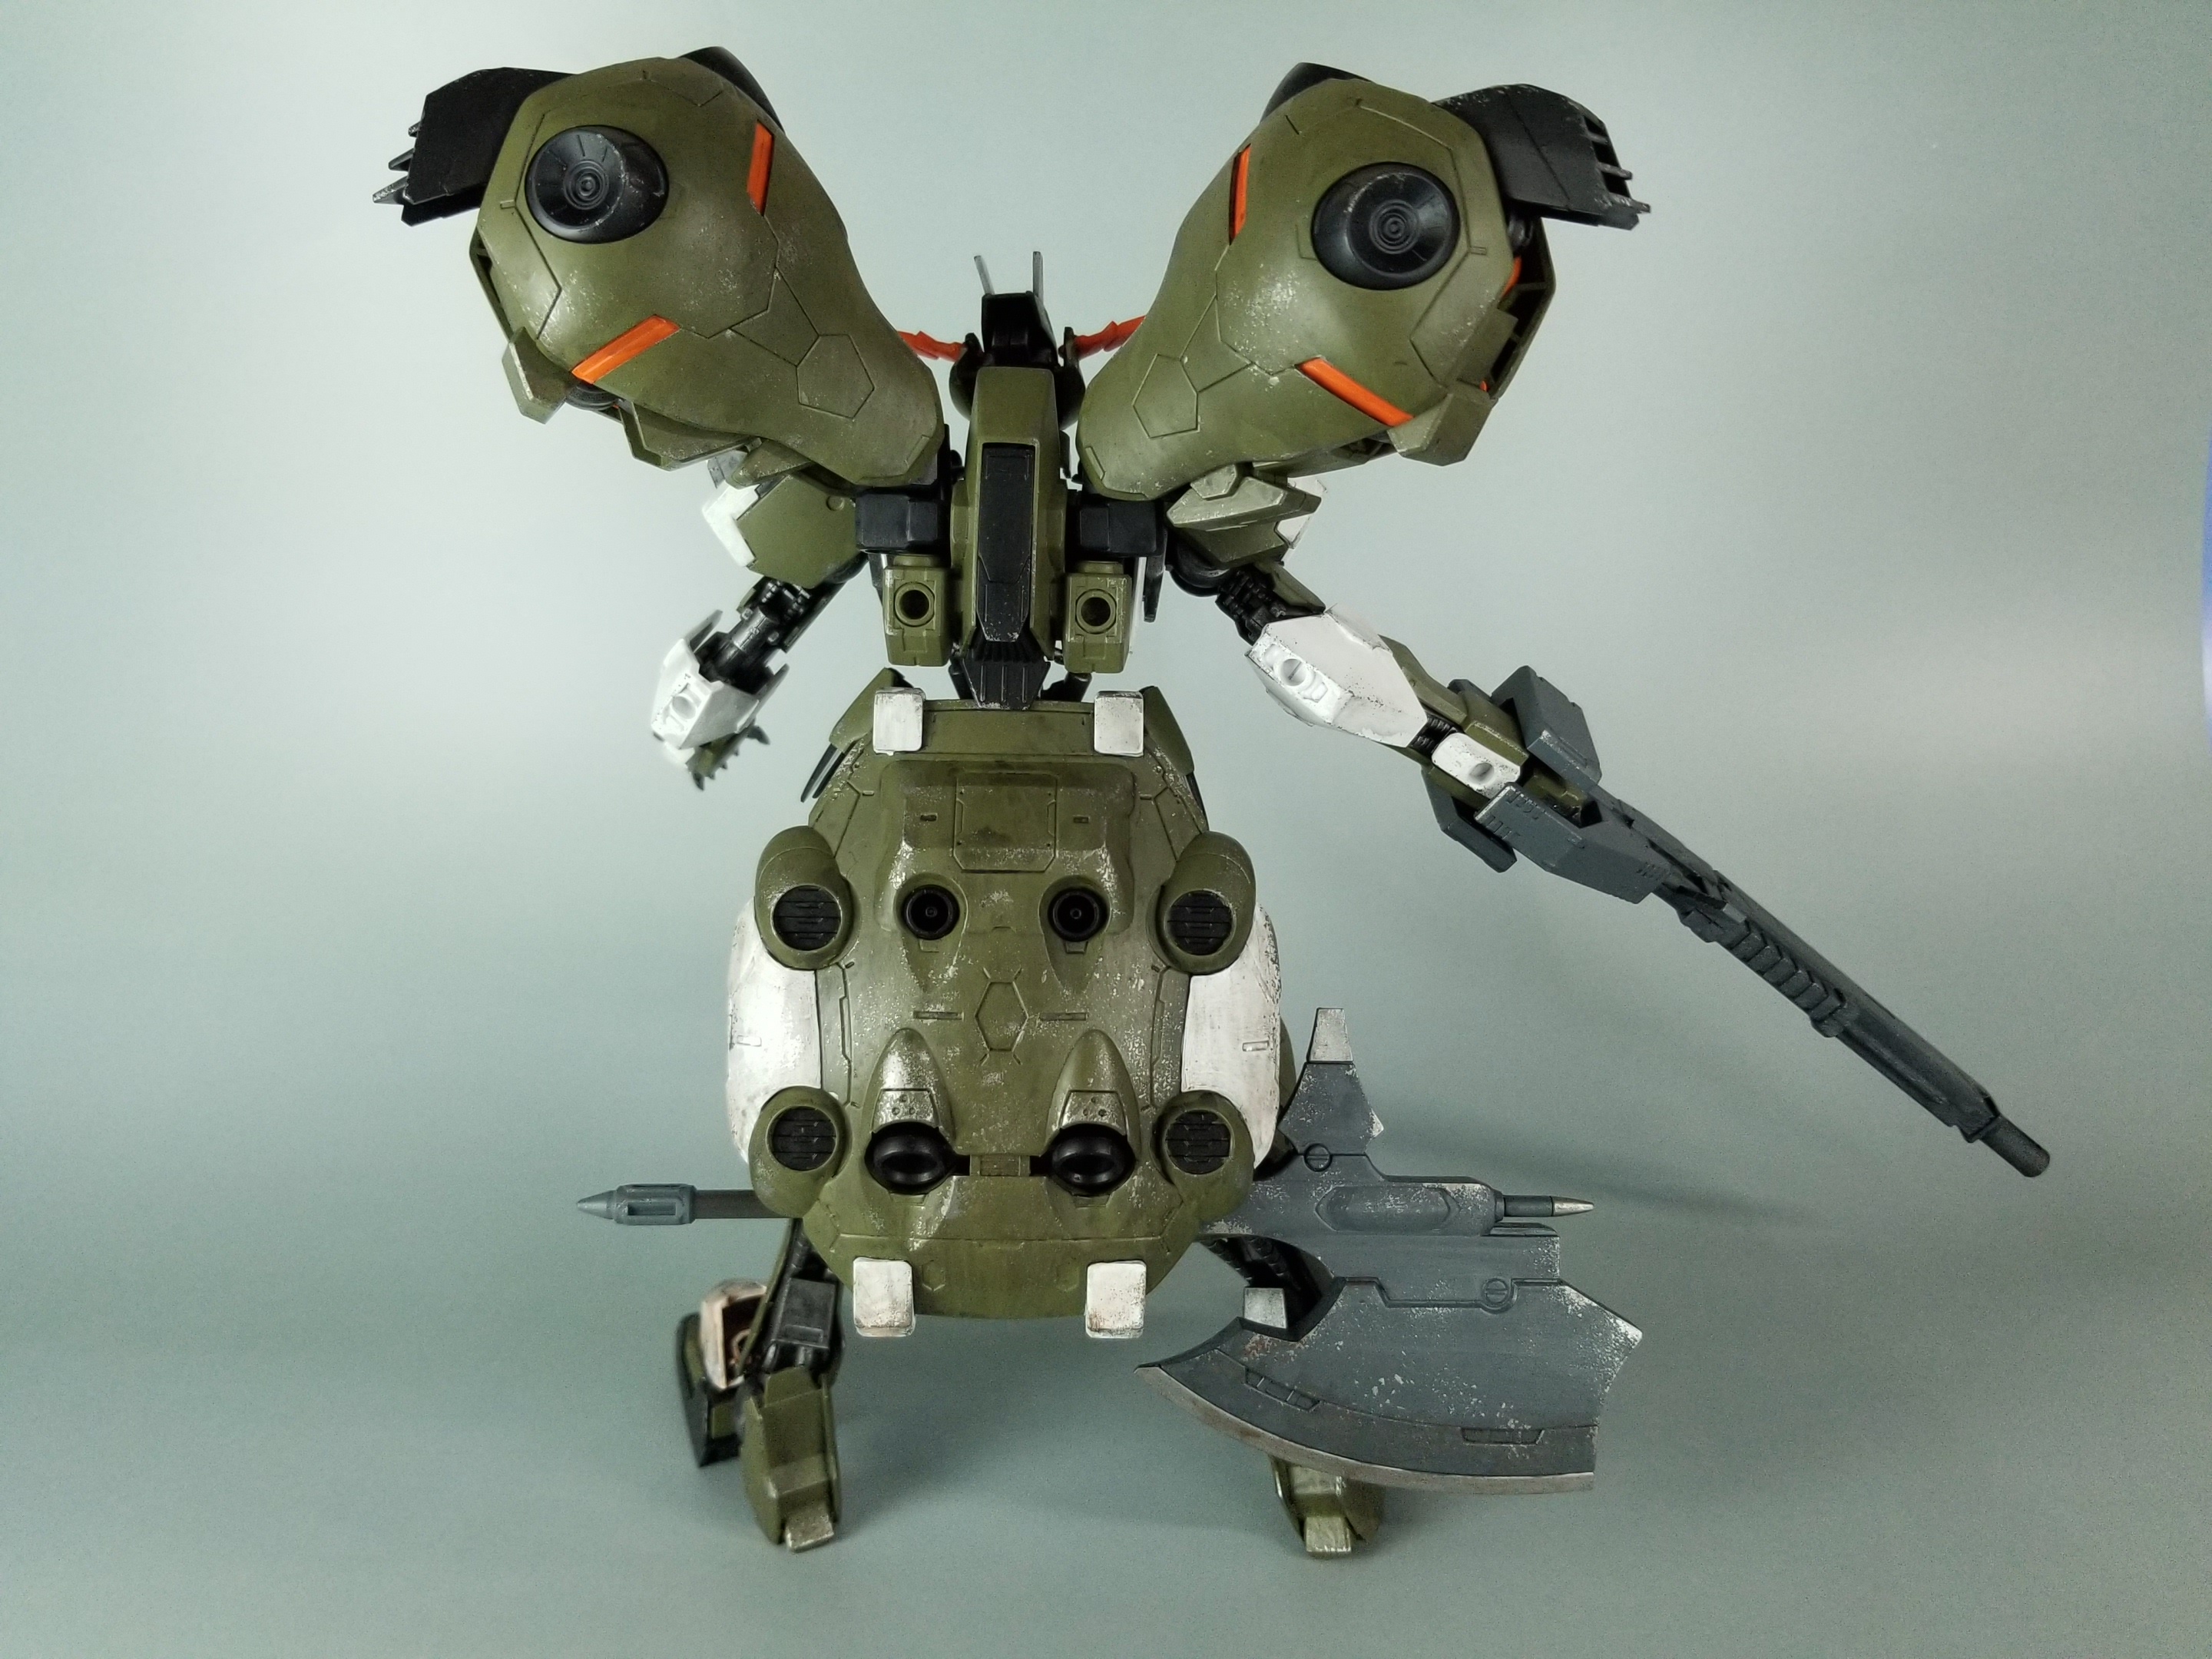
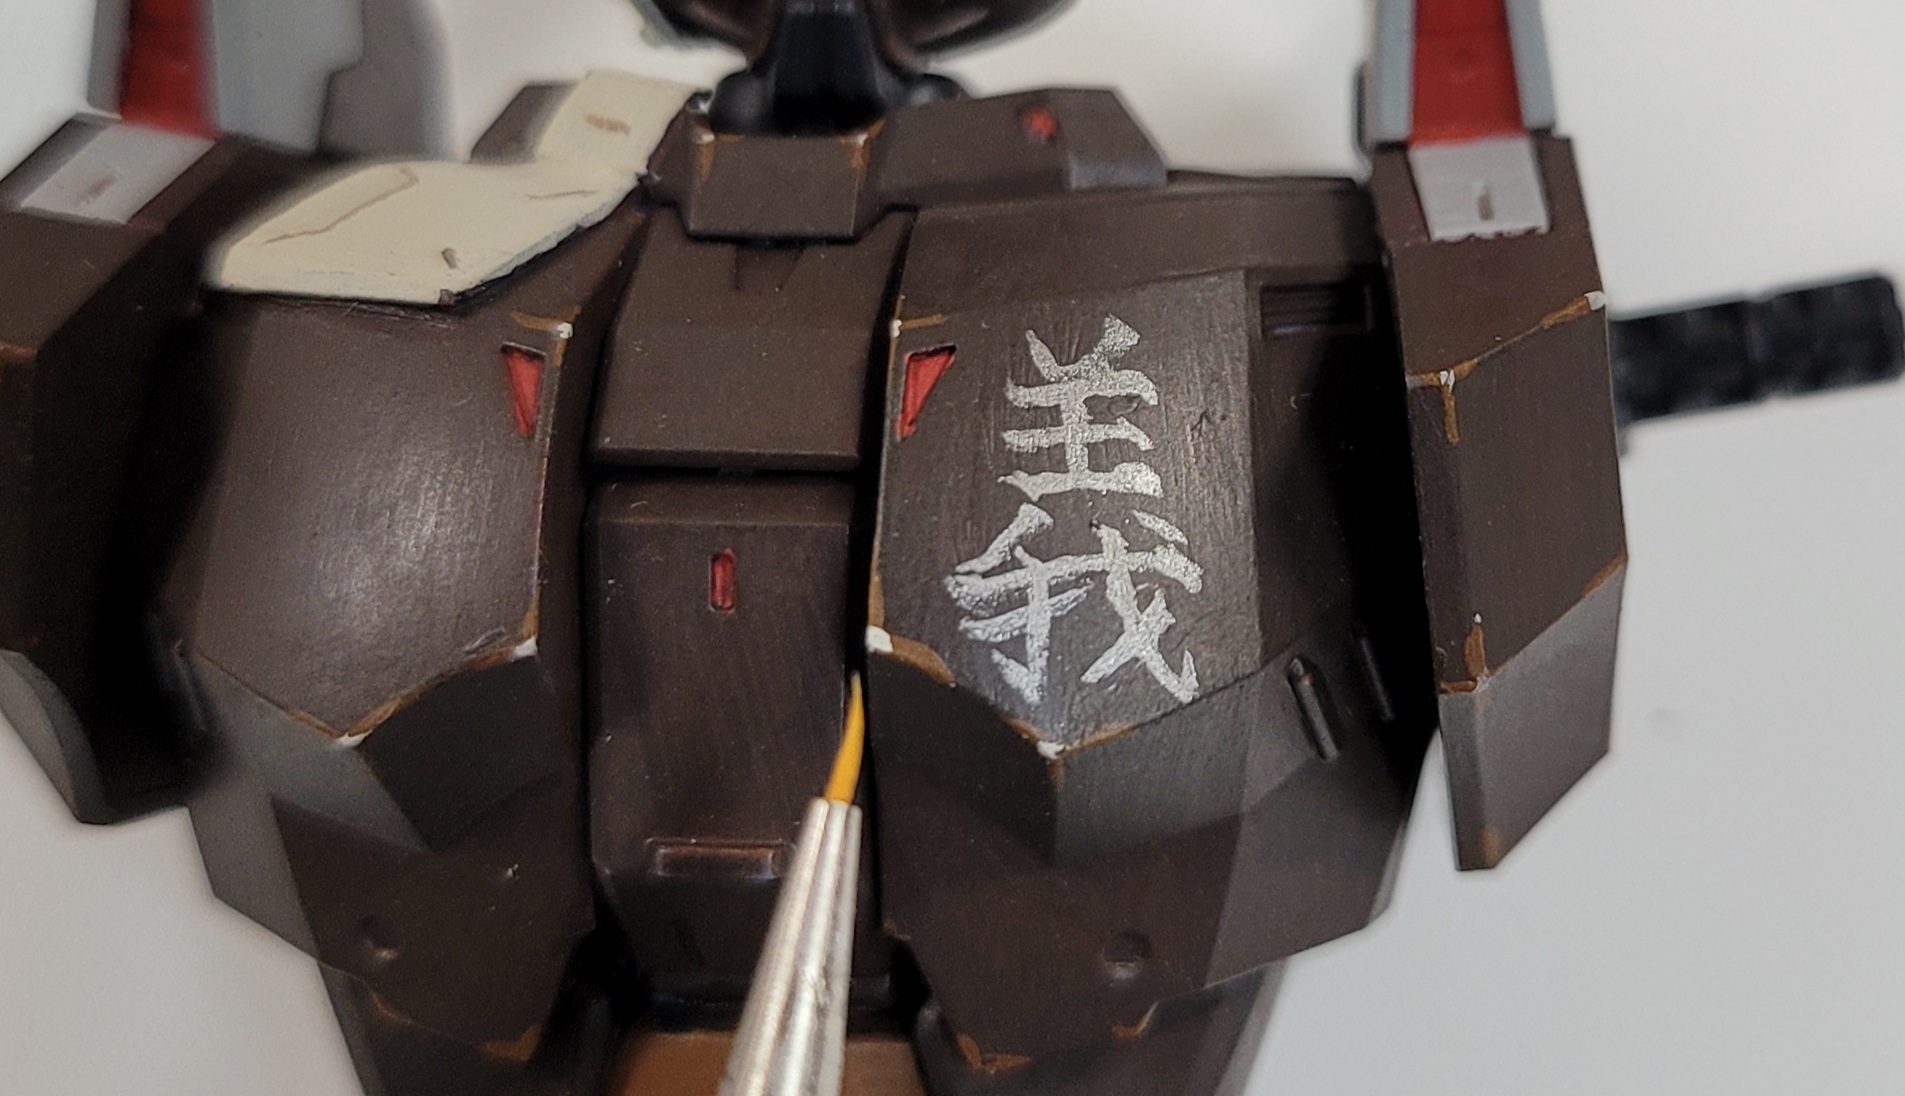
今回はオリジナルカラーで塗ってみました。
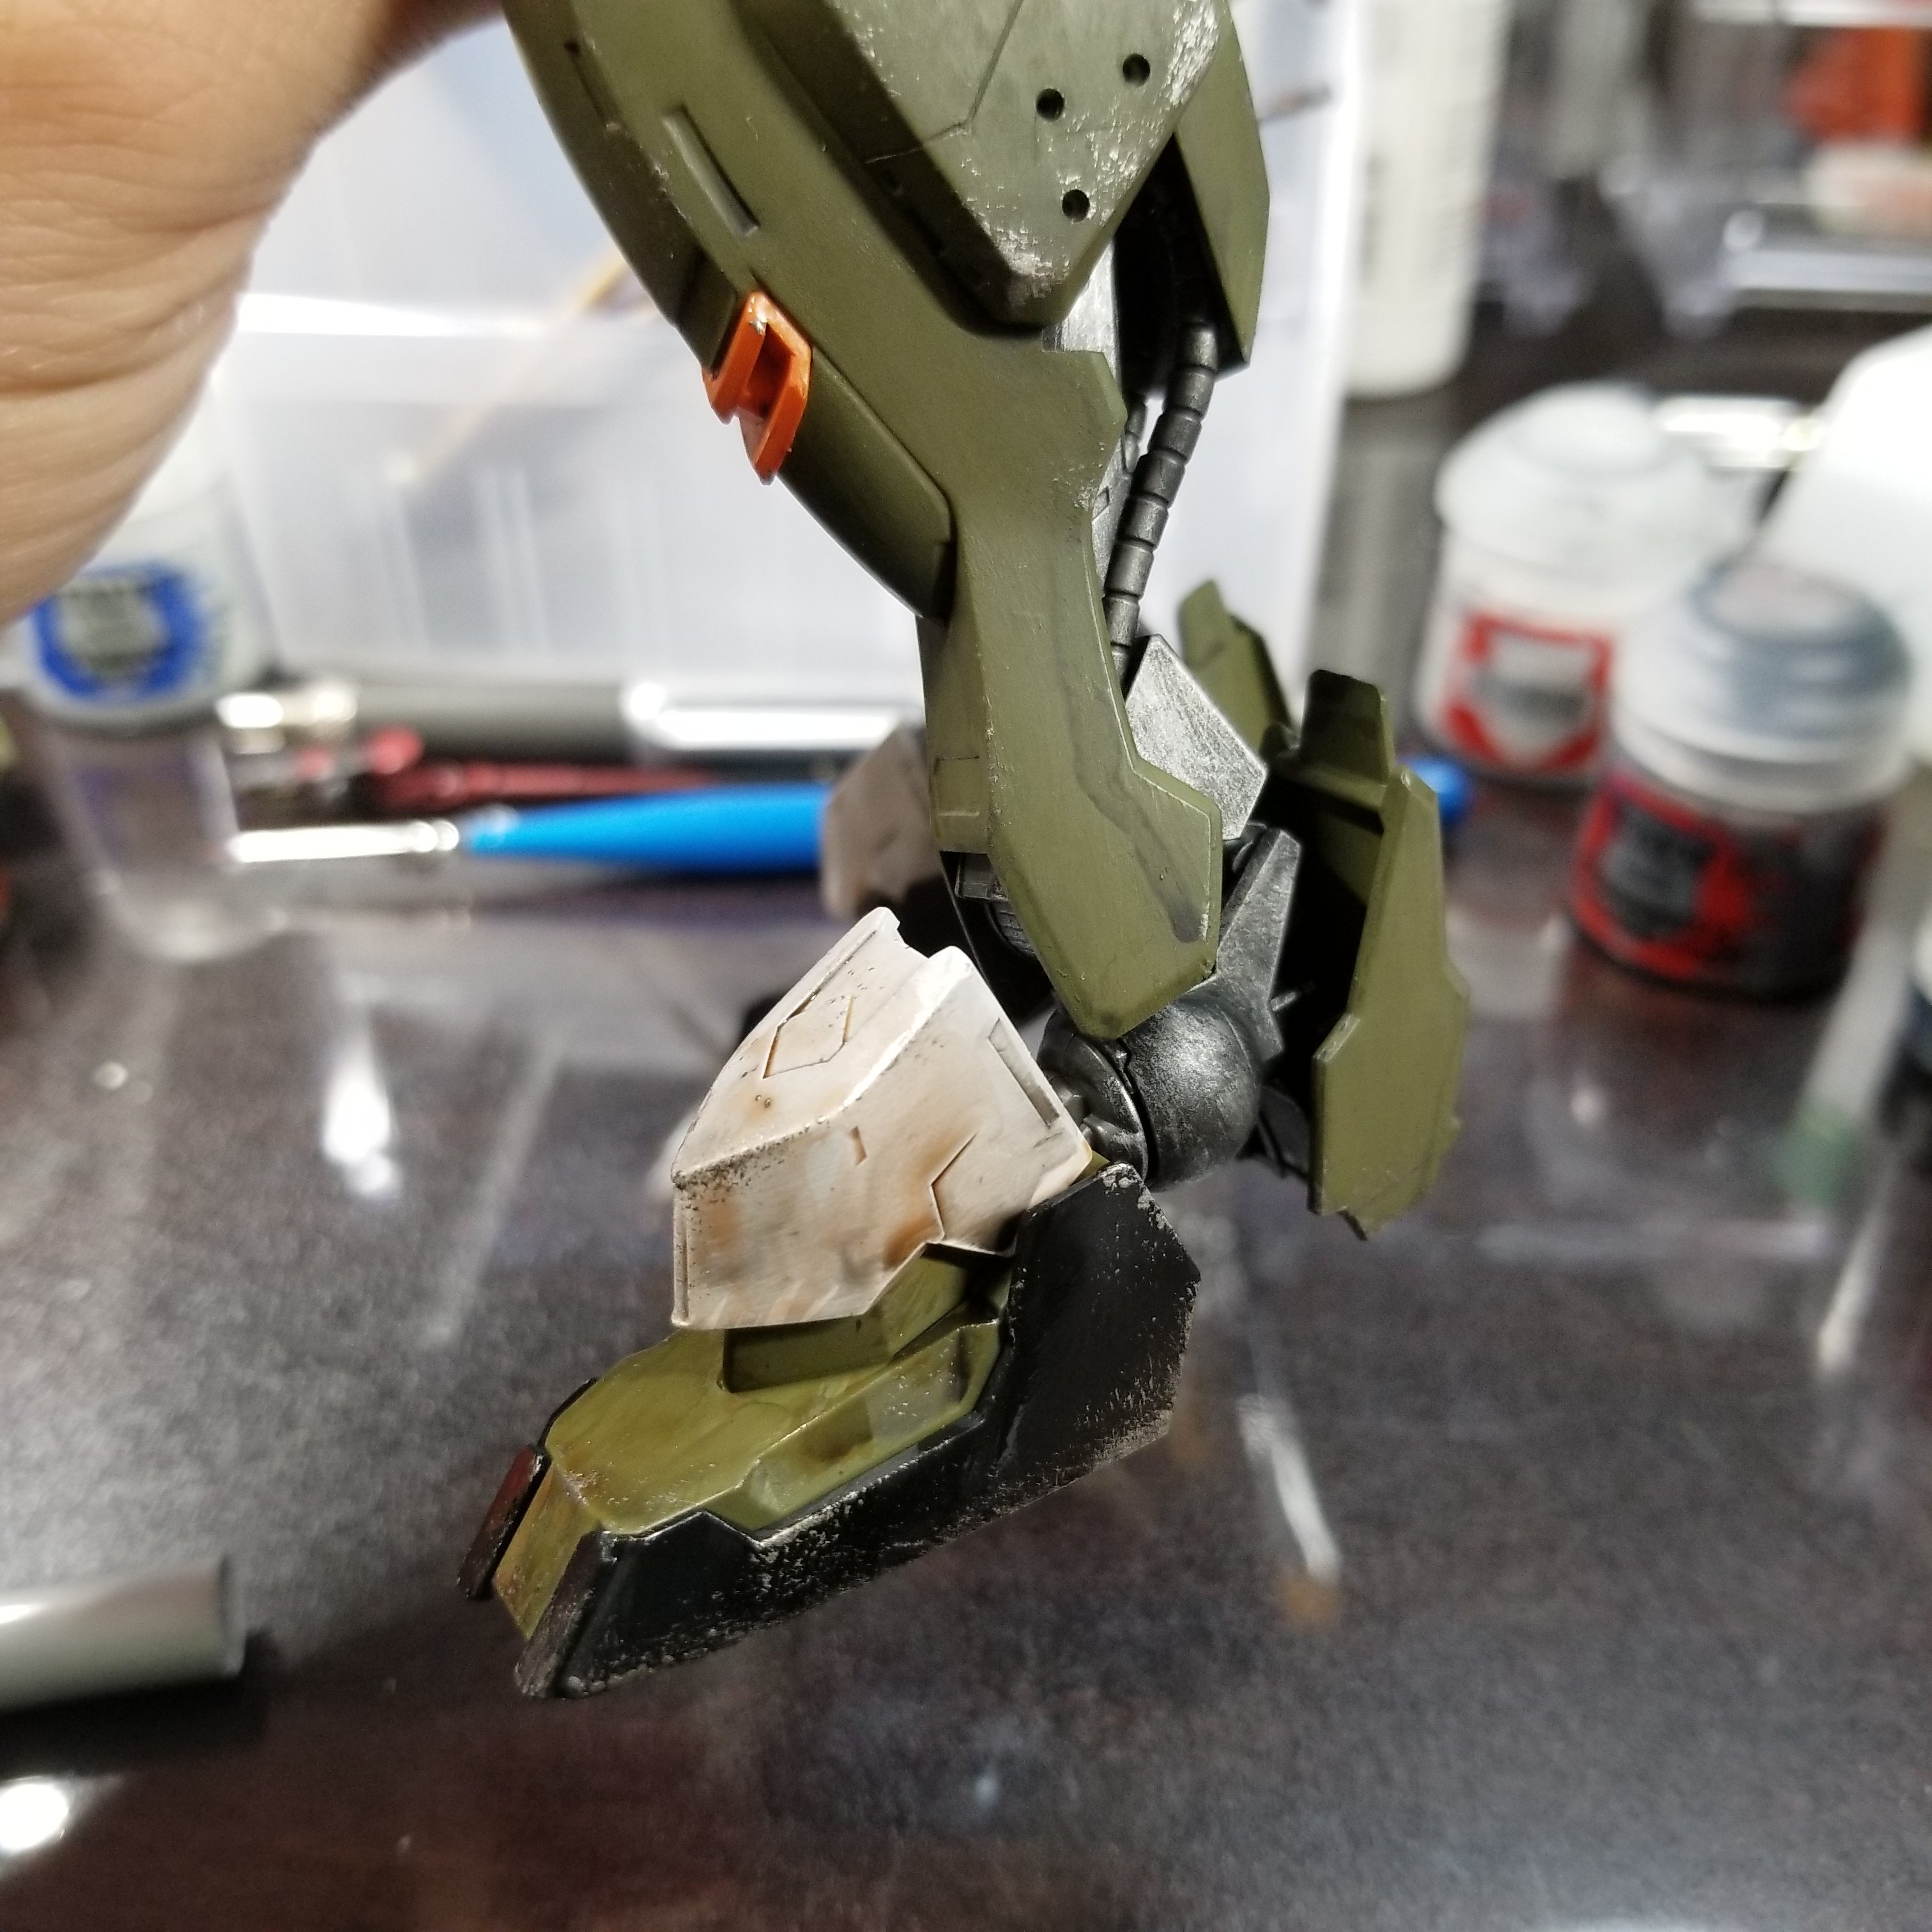
まずはチッピング。
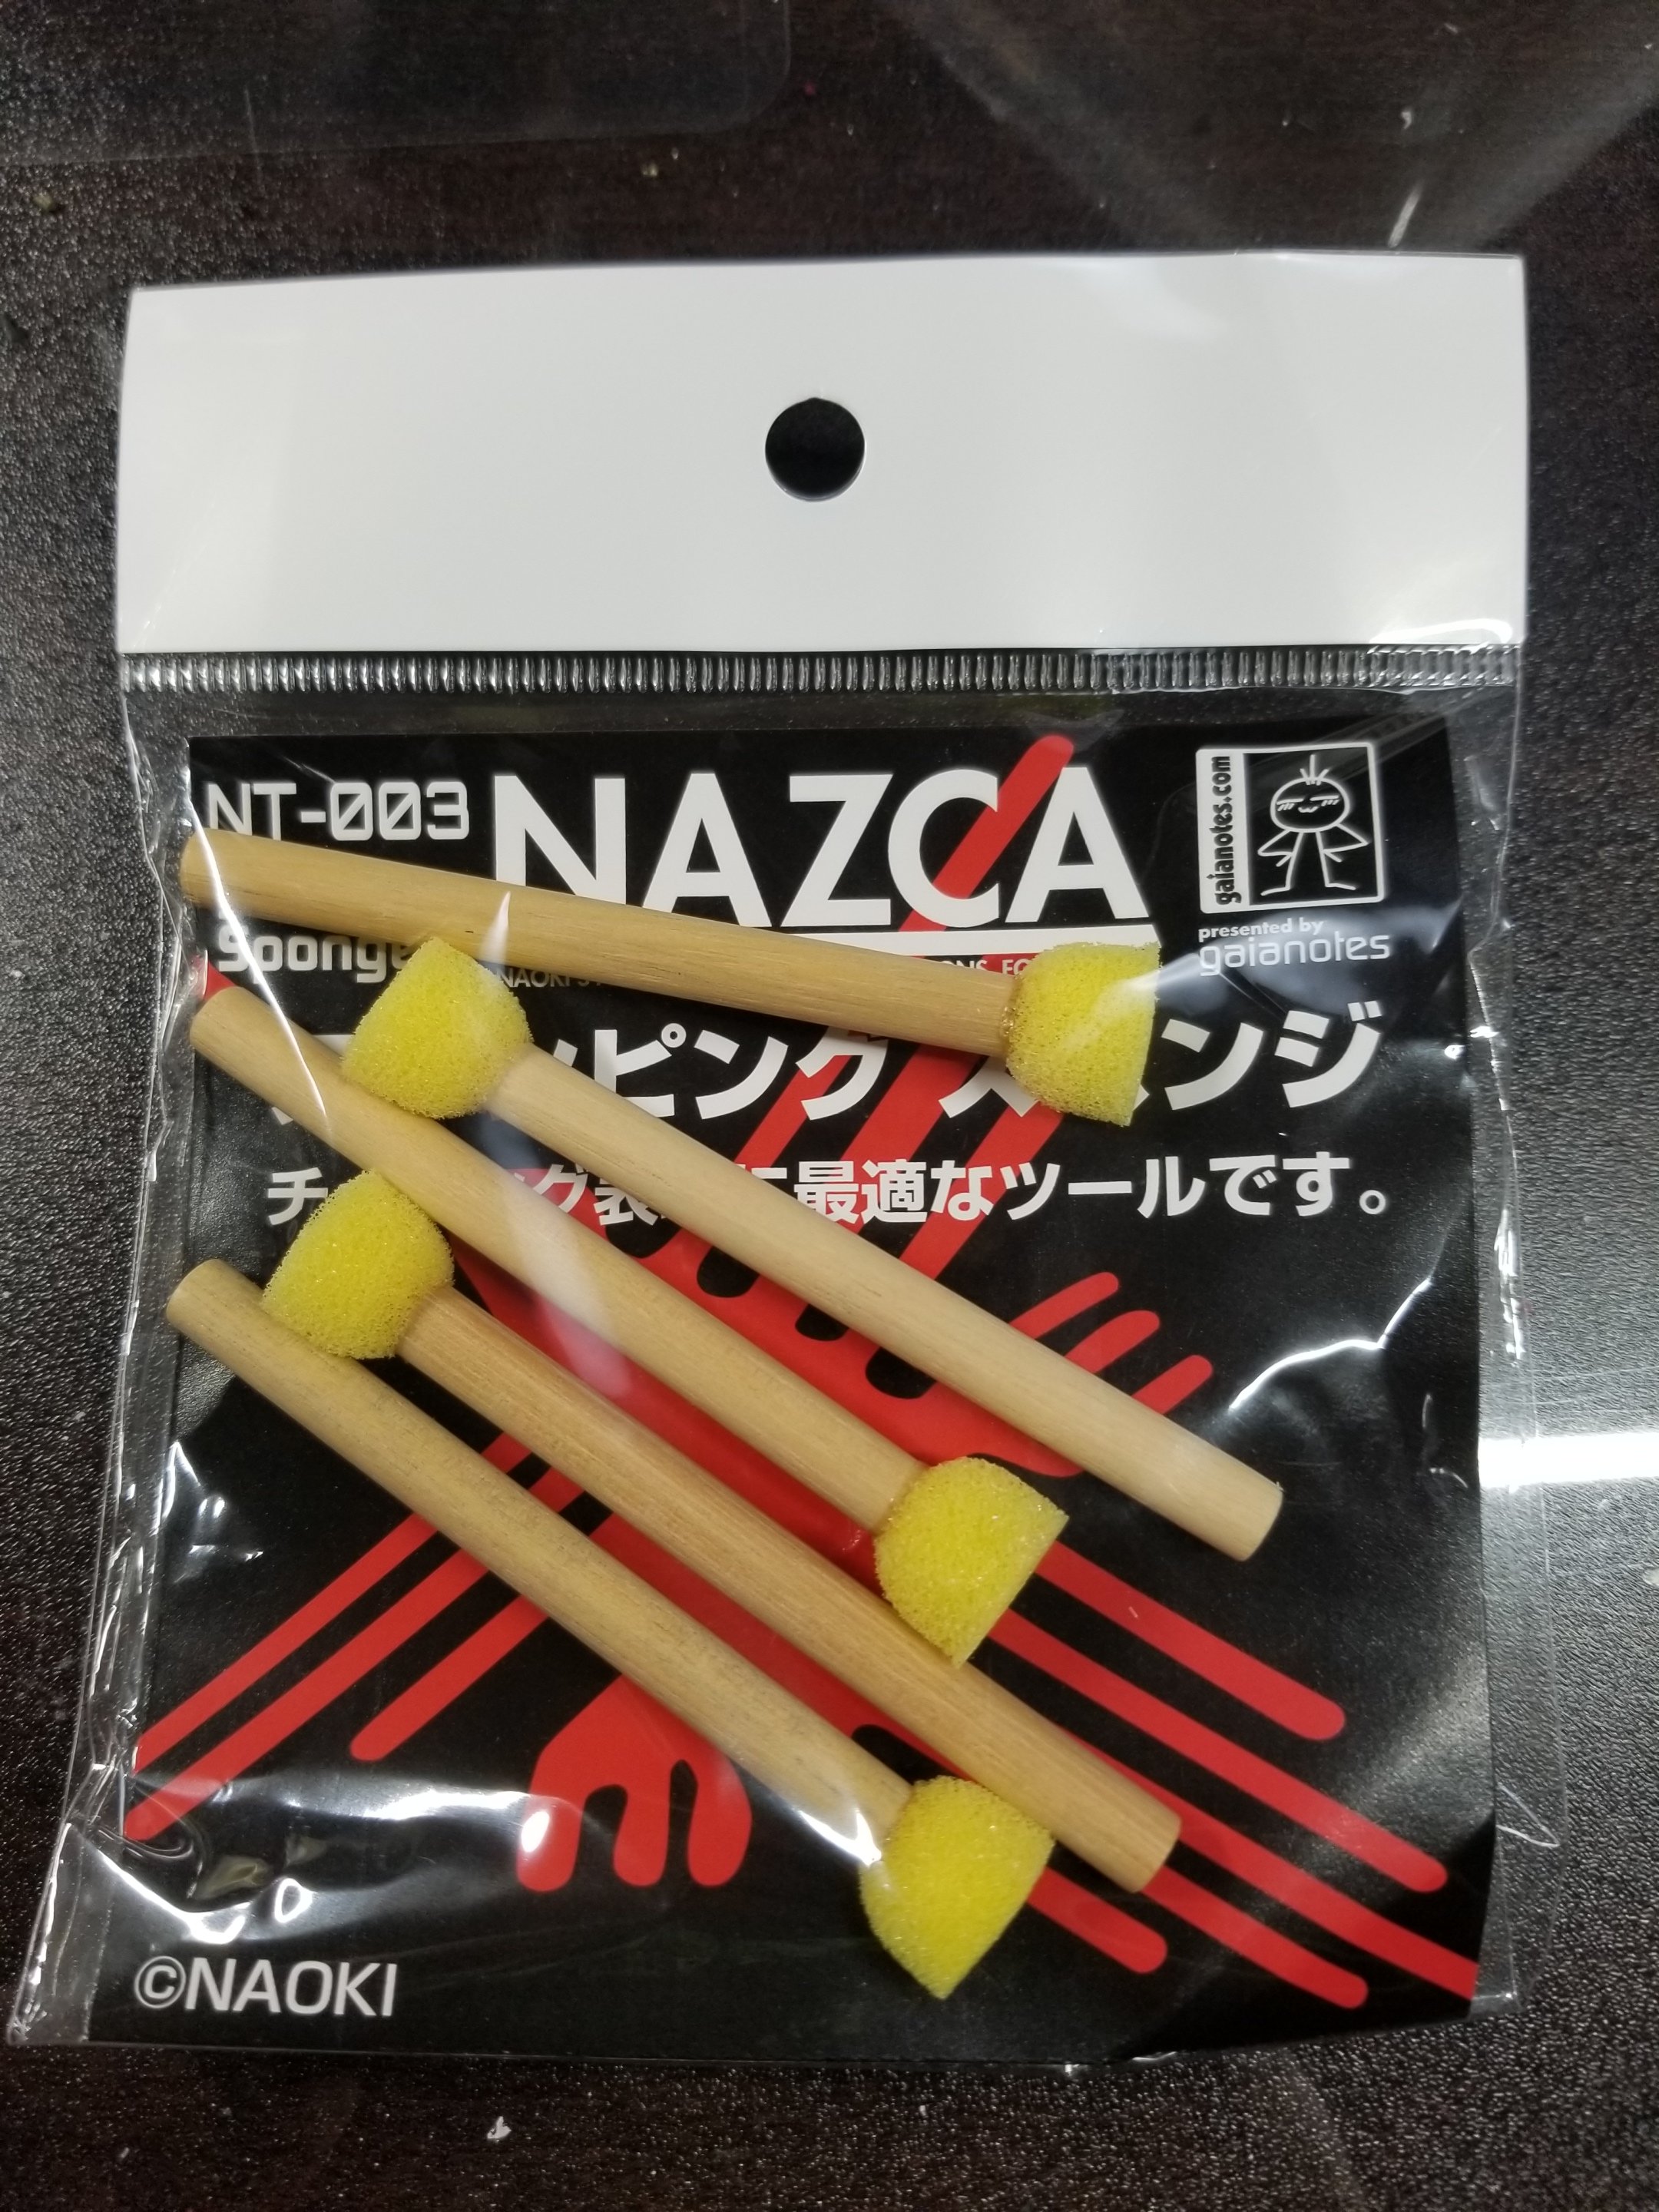
チッピング専用スポンジをつかいました。
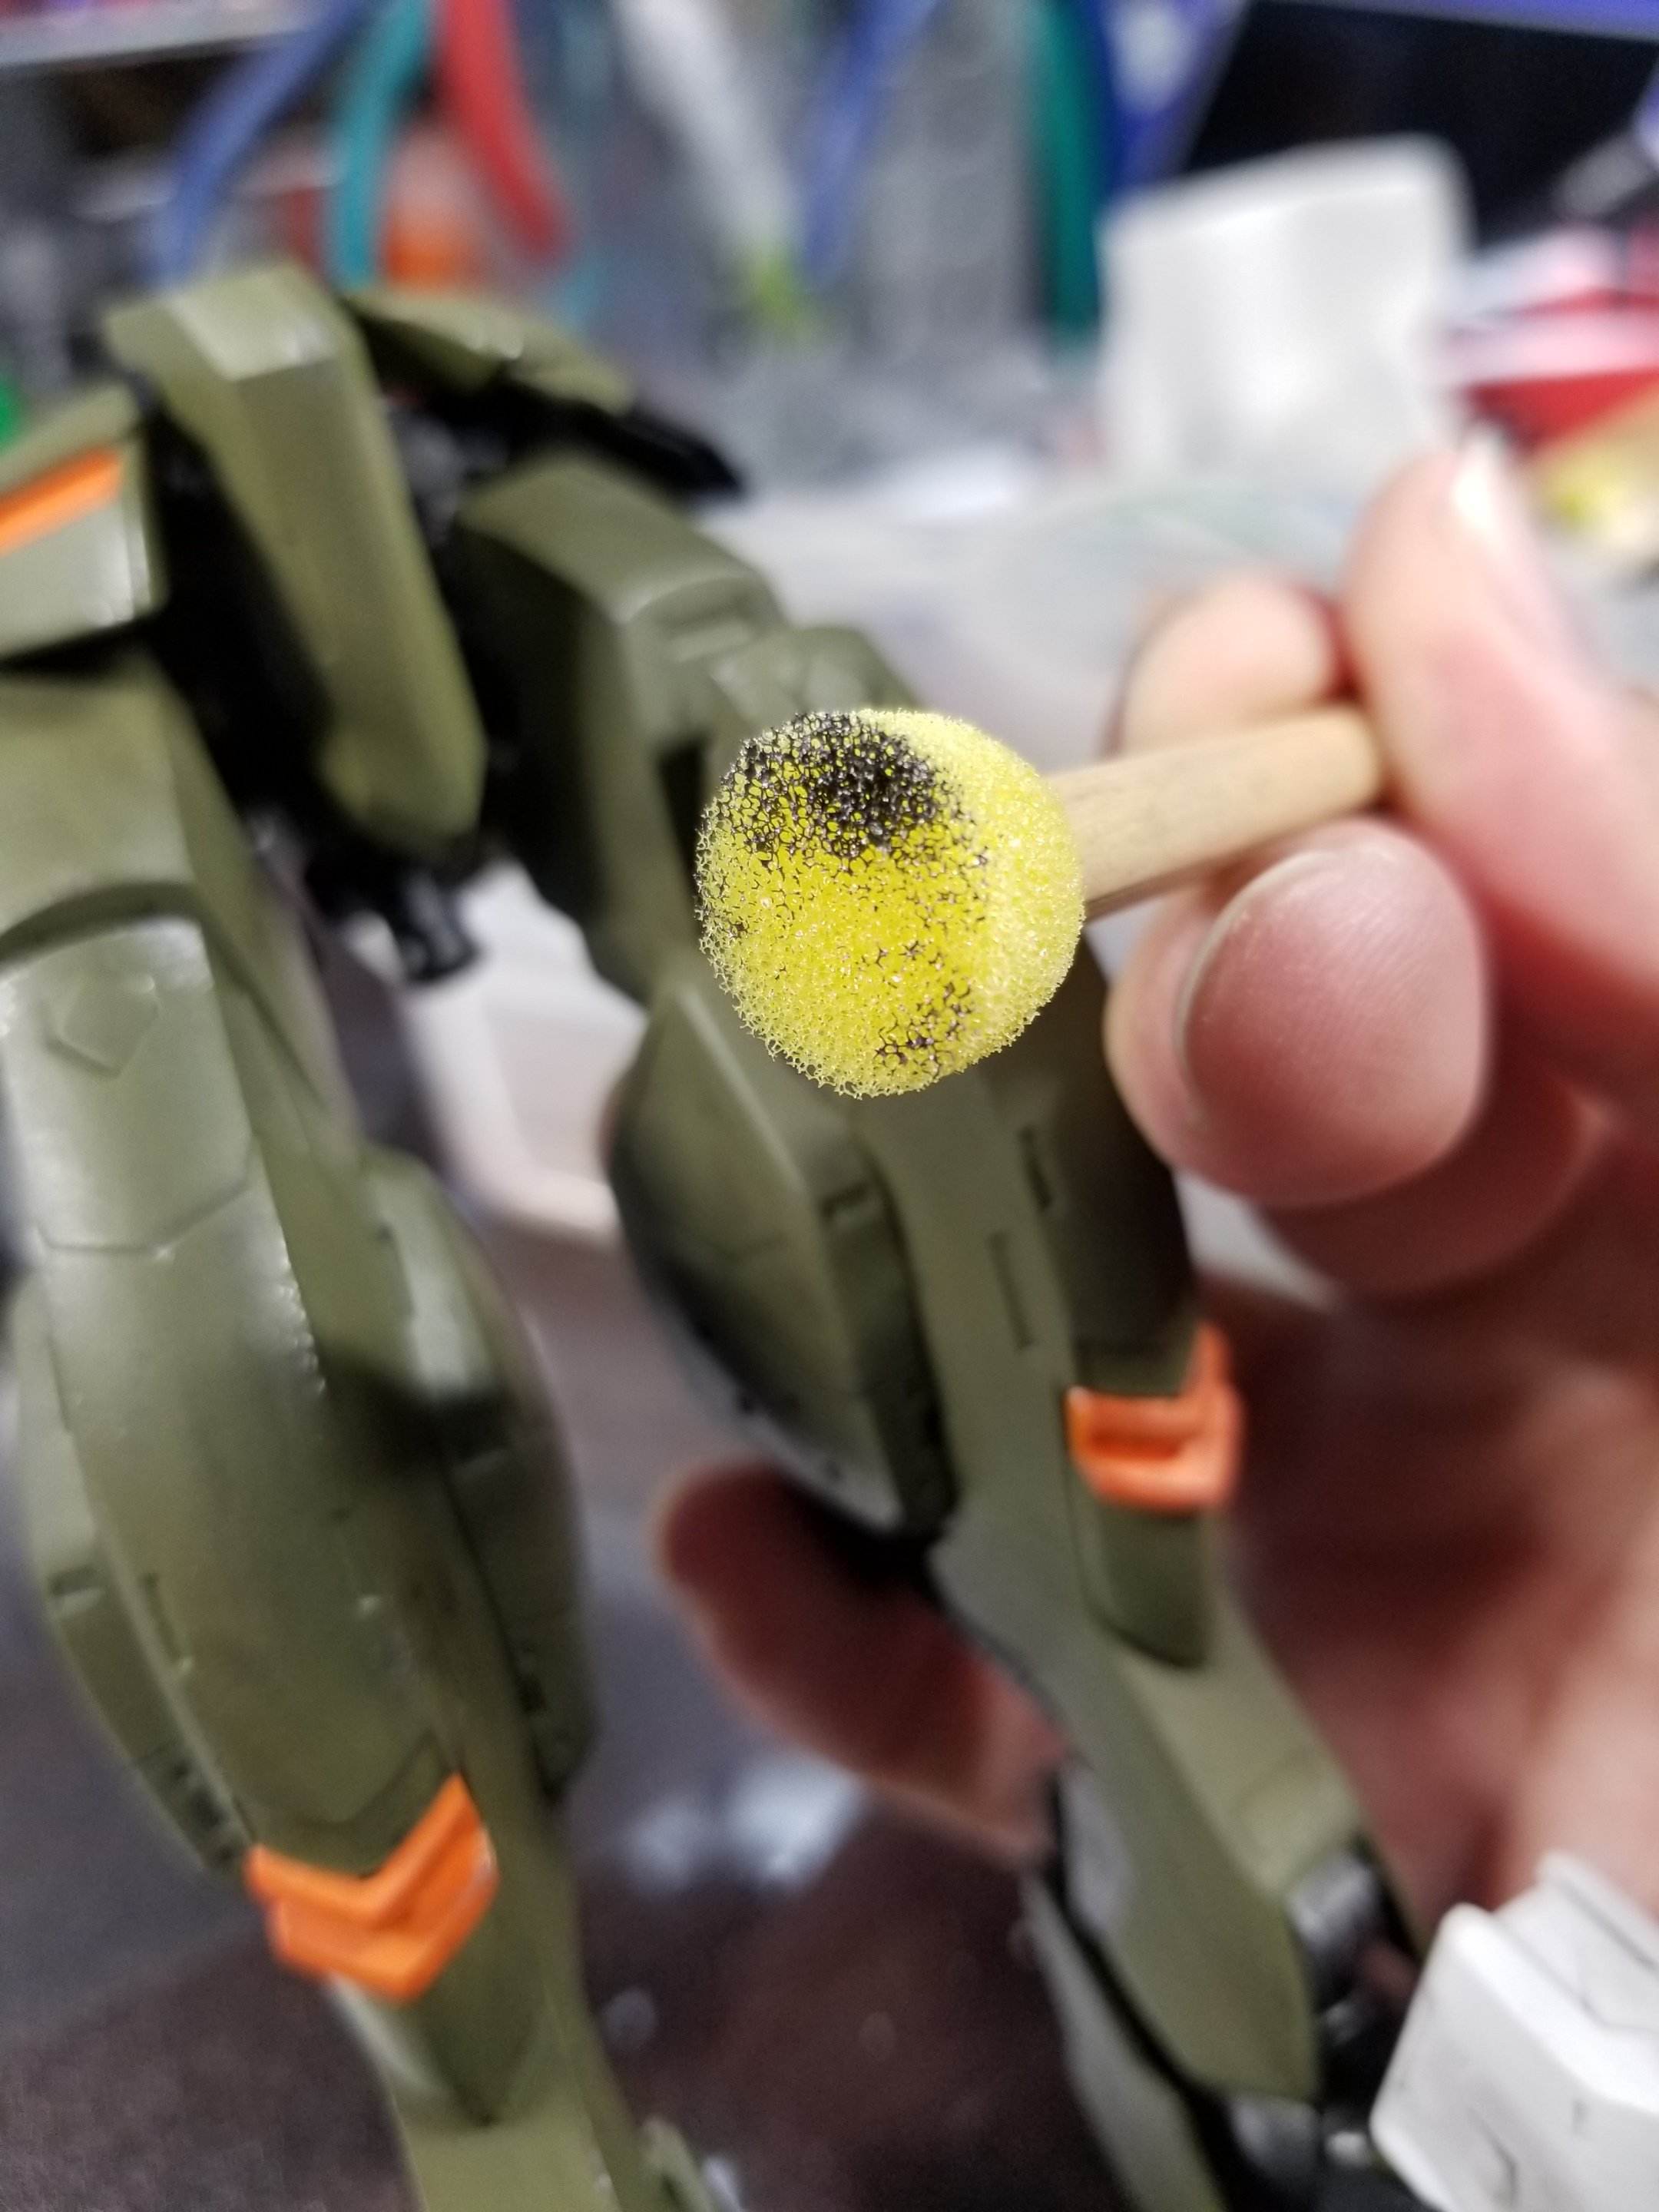
こうして…
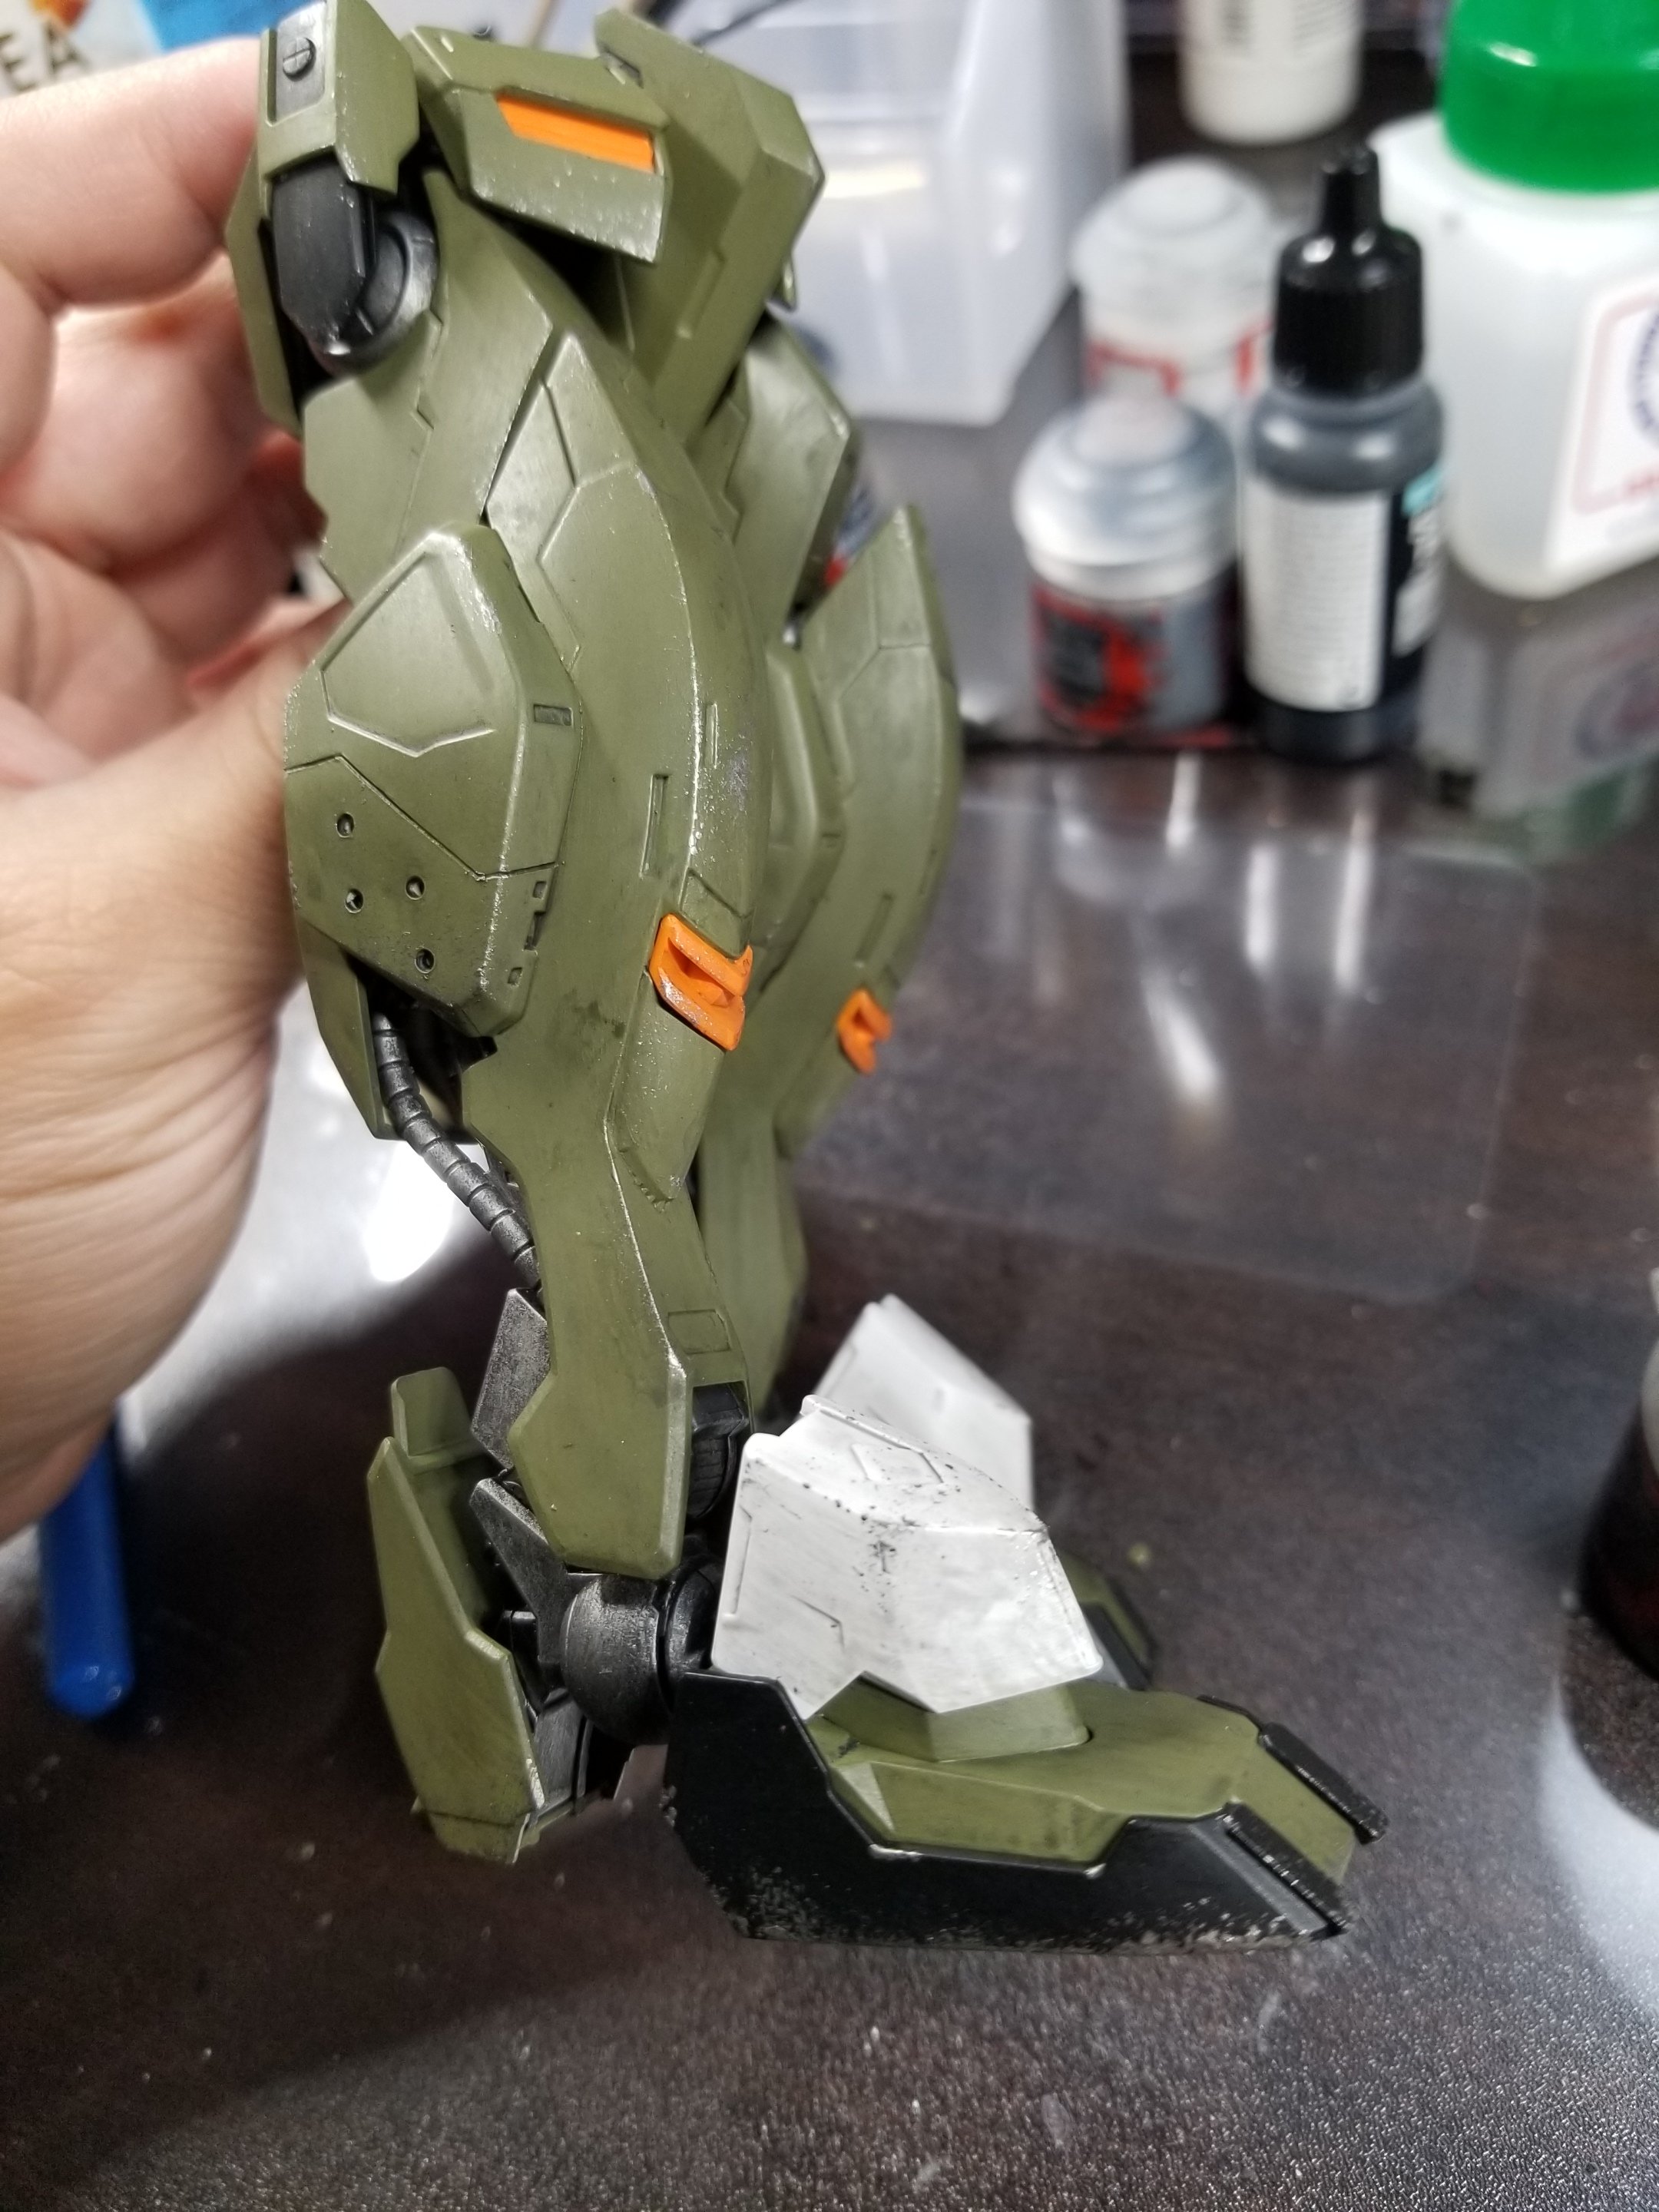
こう!(写真はチッピングのあとのシェイドまでやっています)
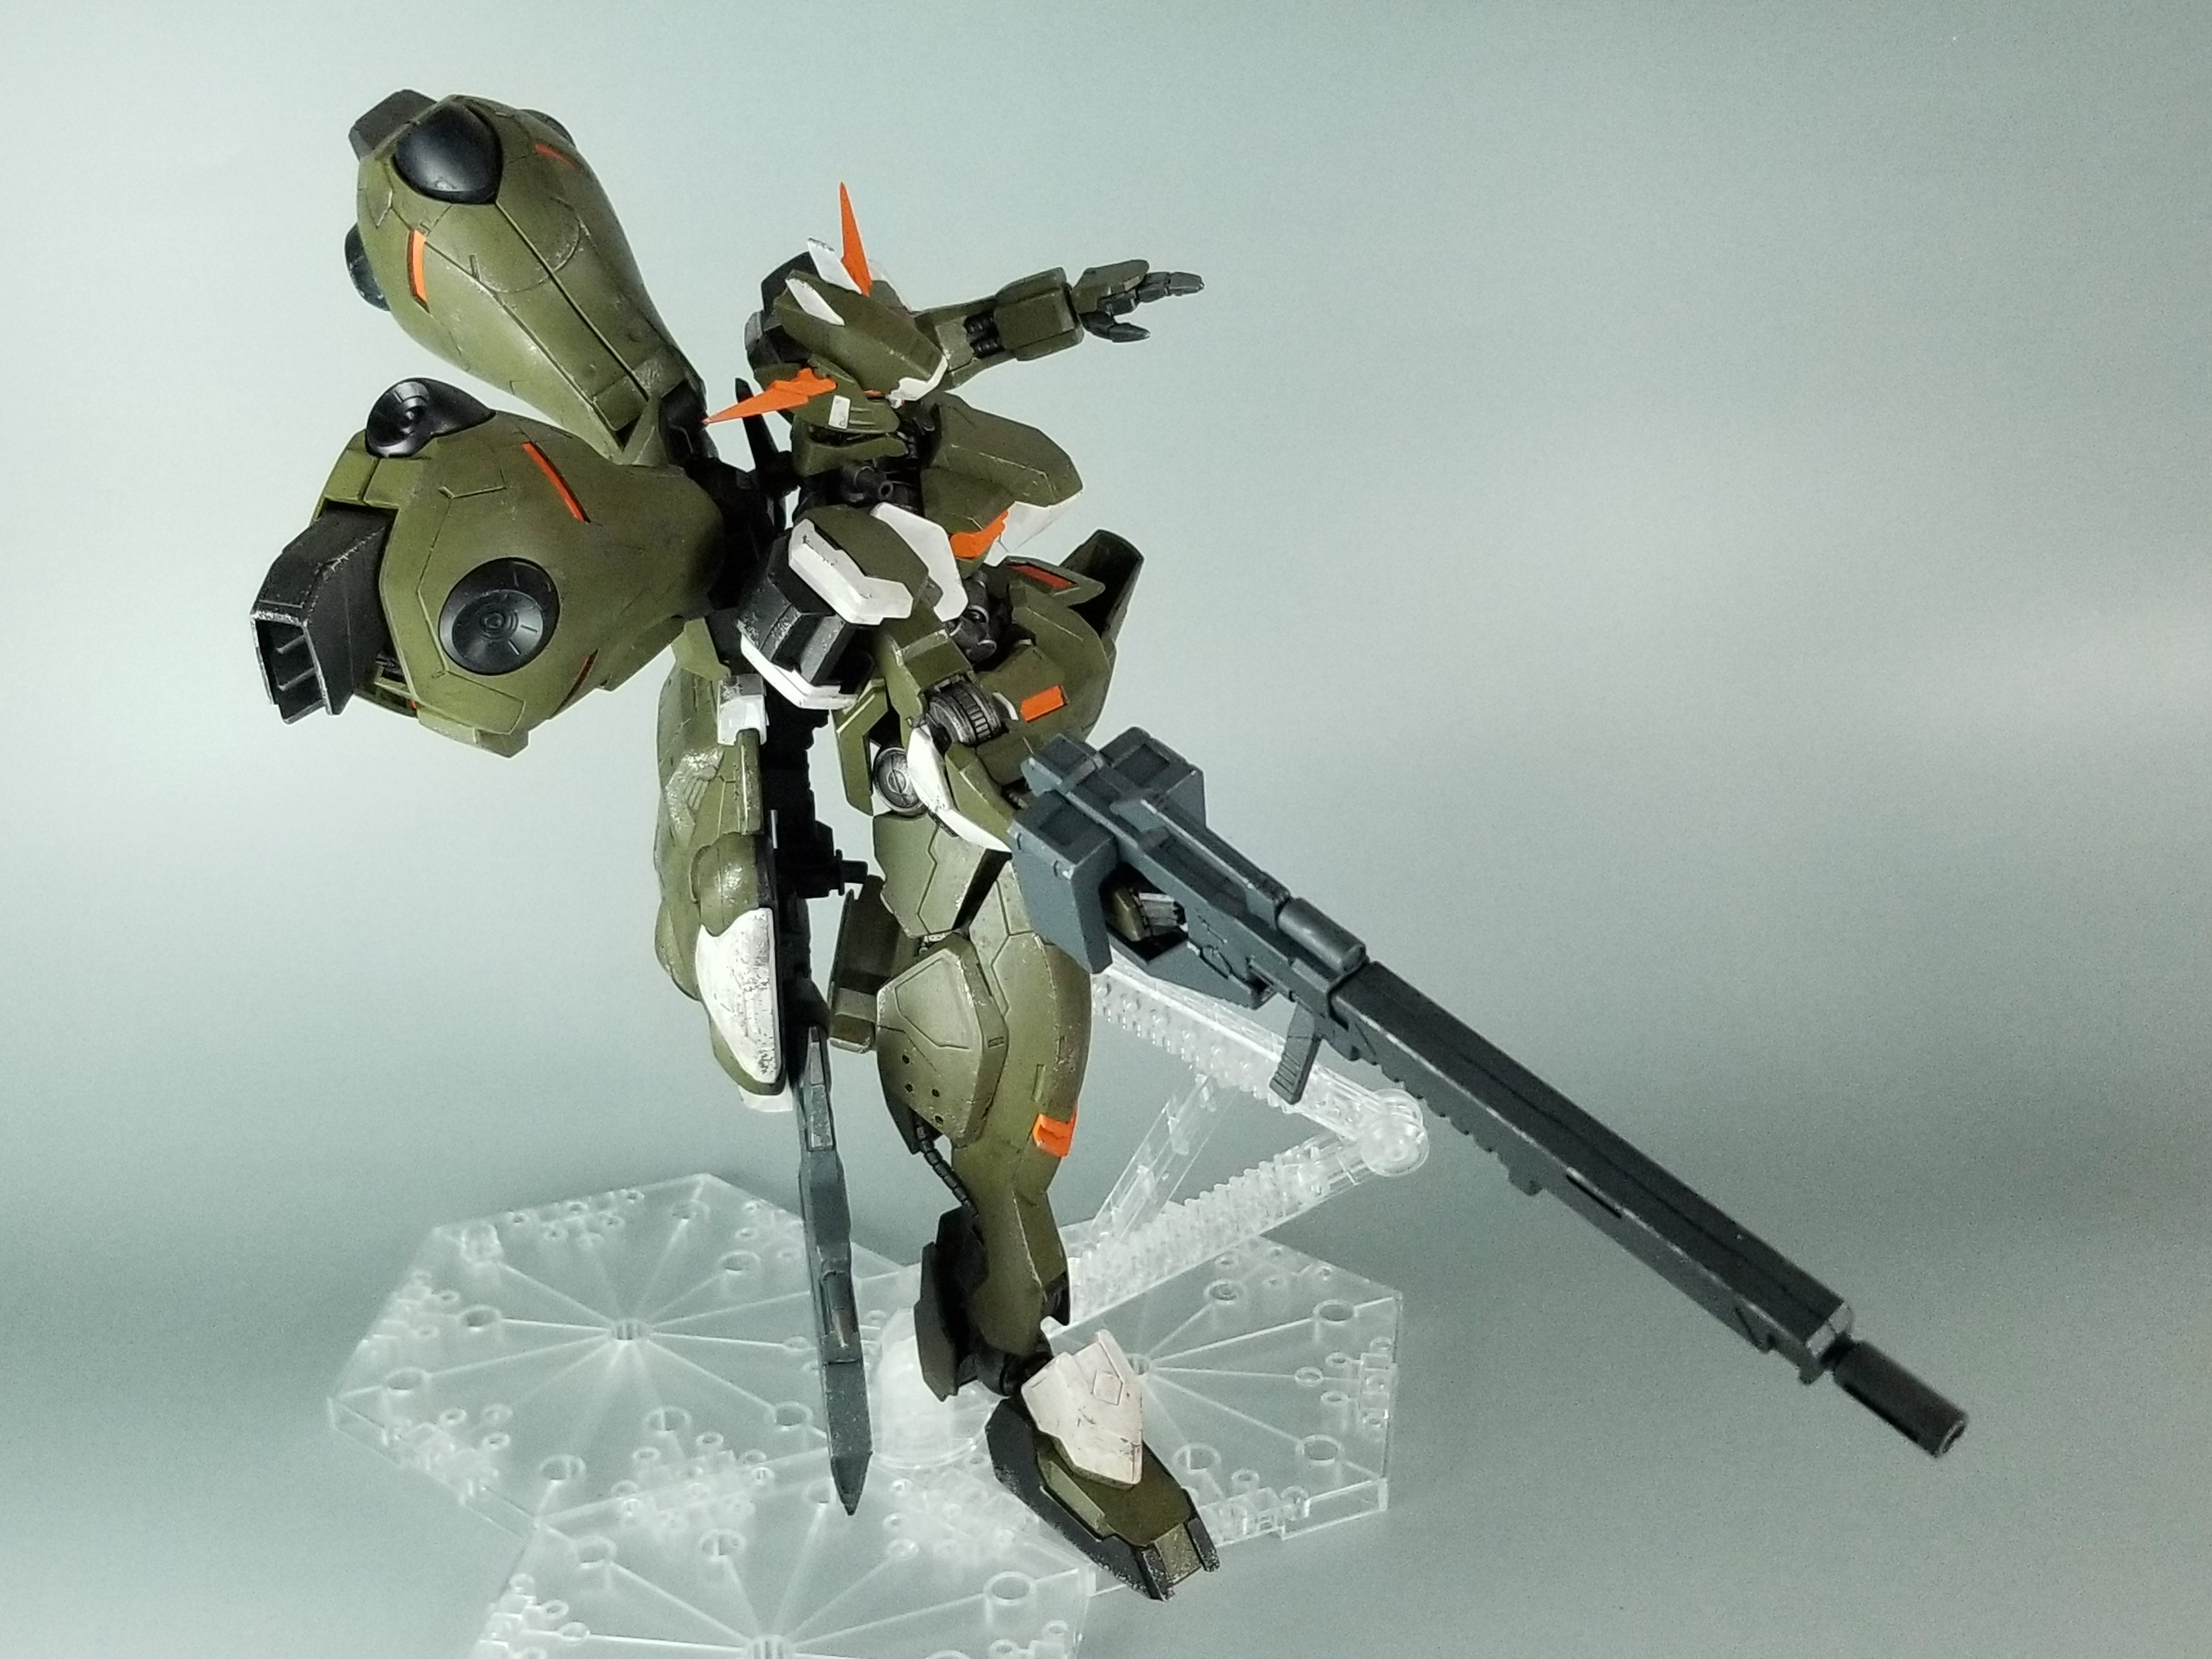
心がけたことは角などの擦れるとこ、膝、足元に向かうにつれ傷多めに、です。
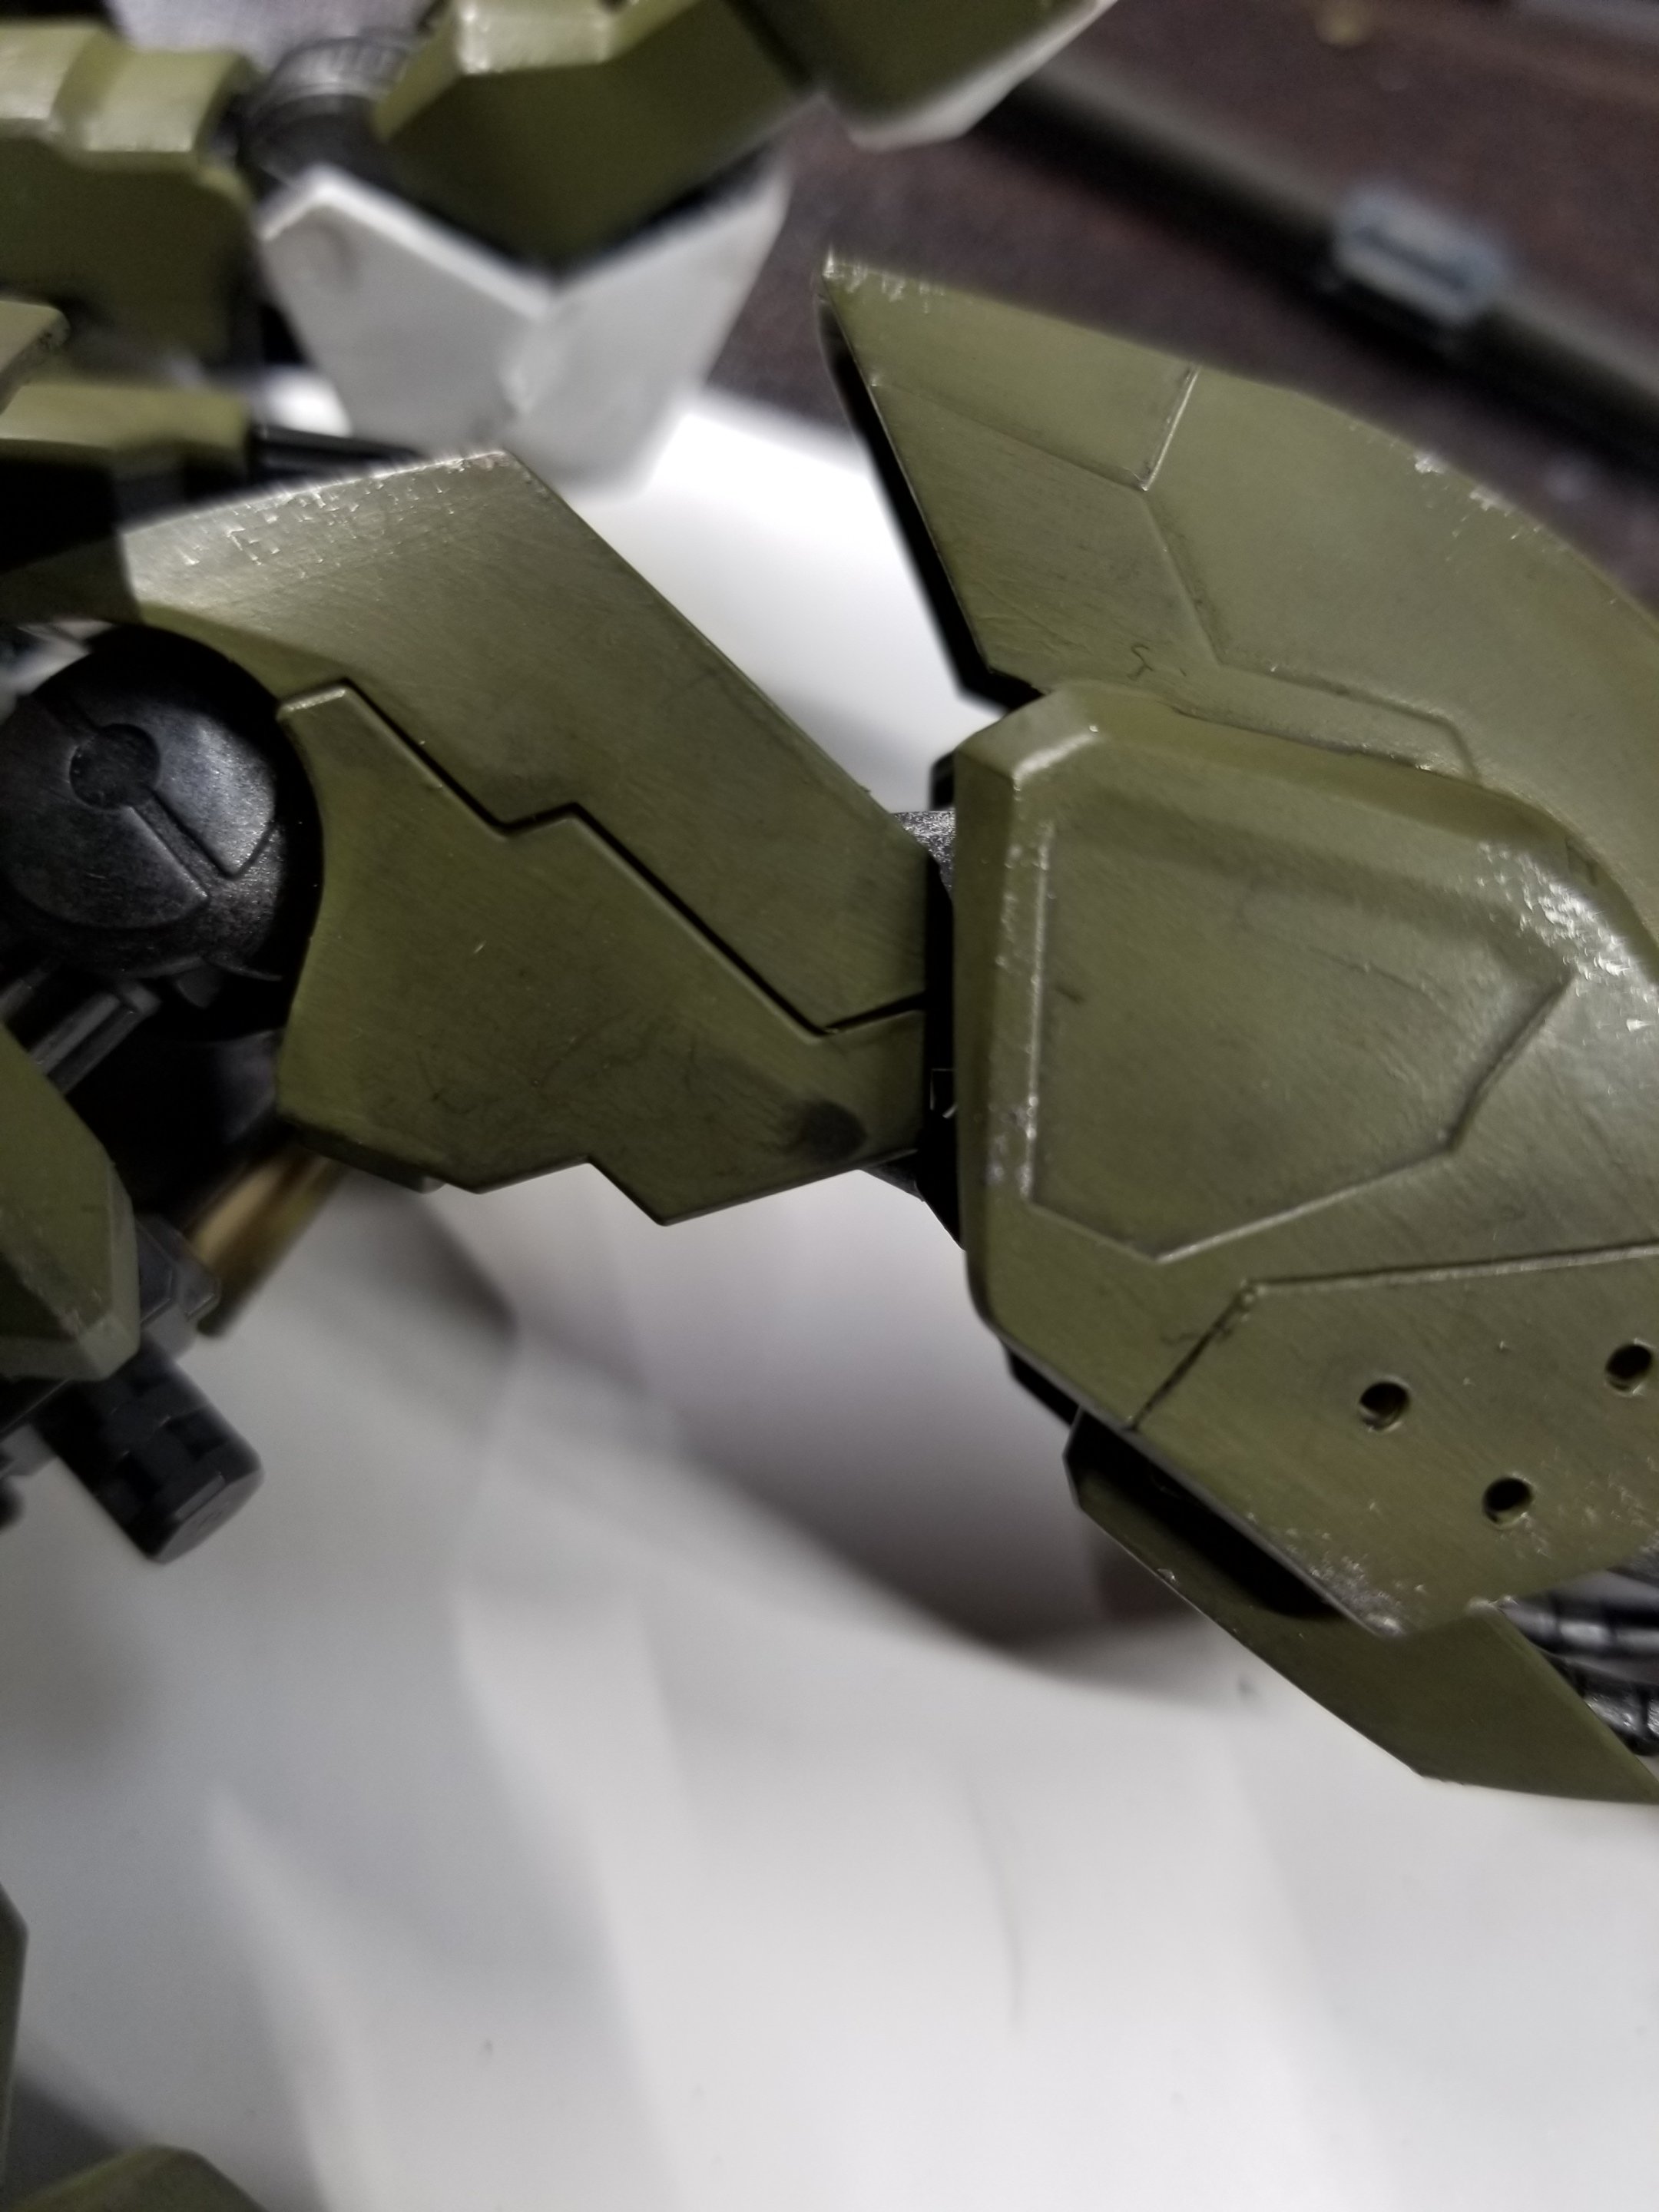
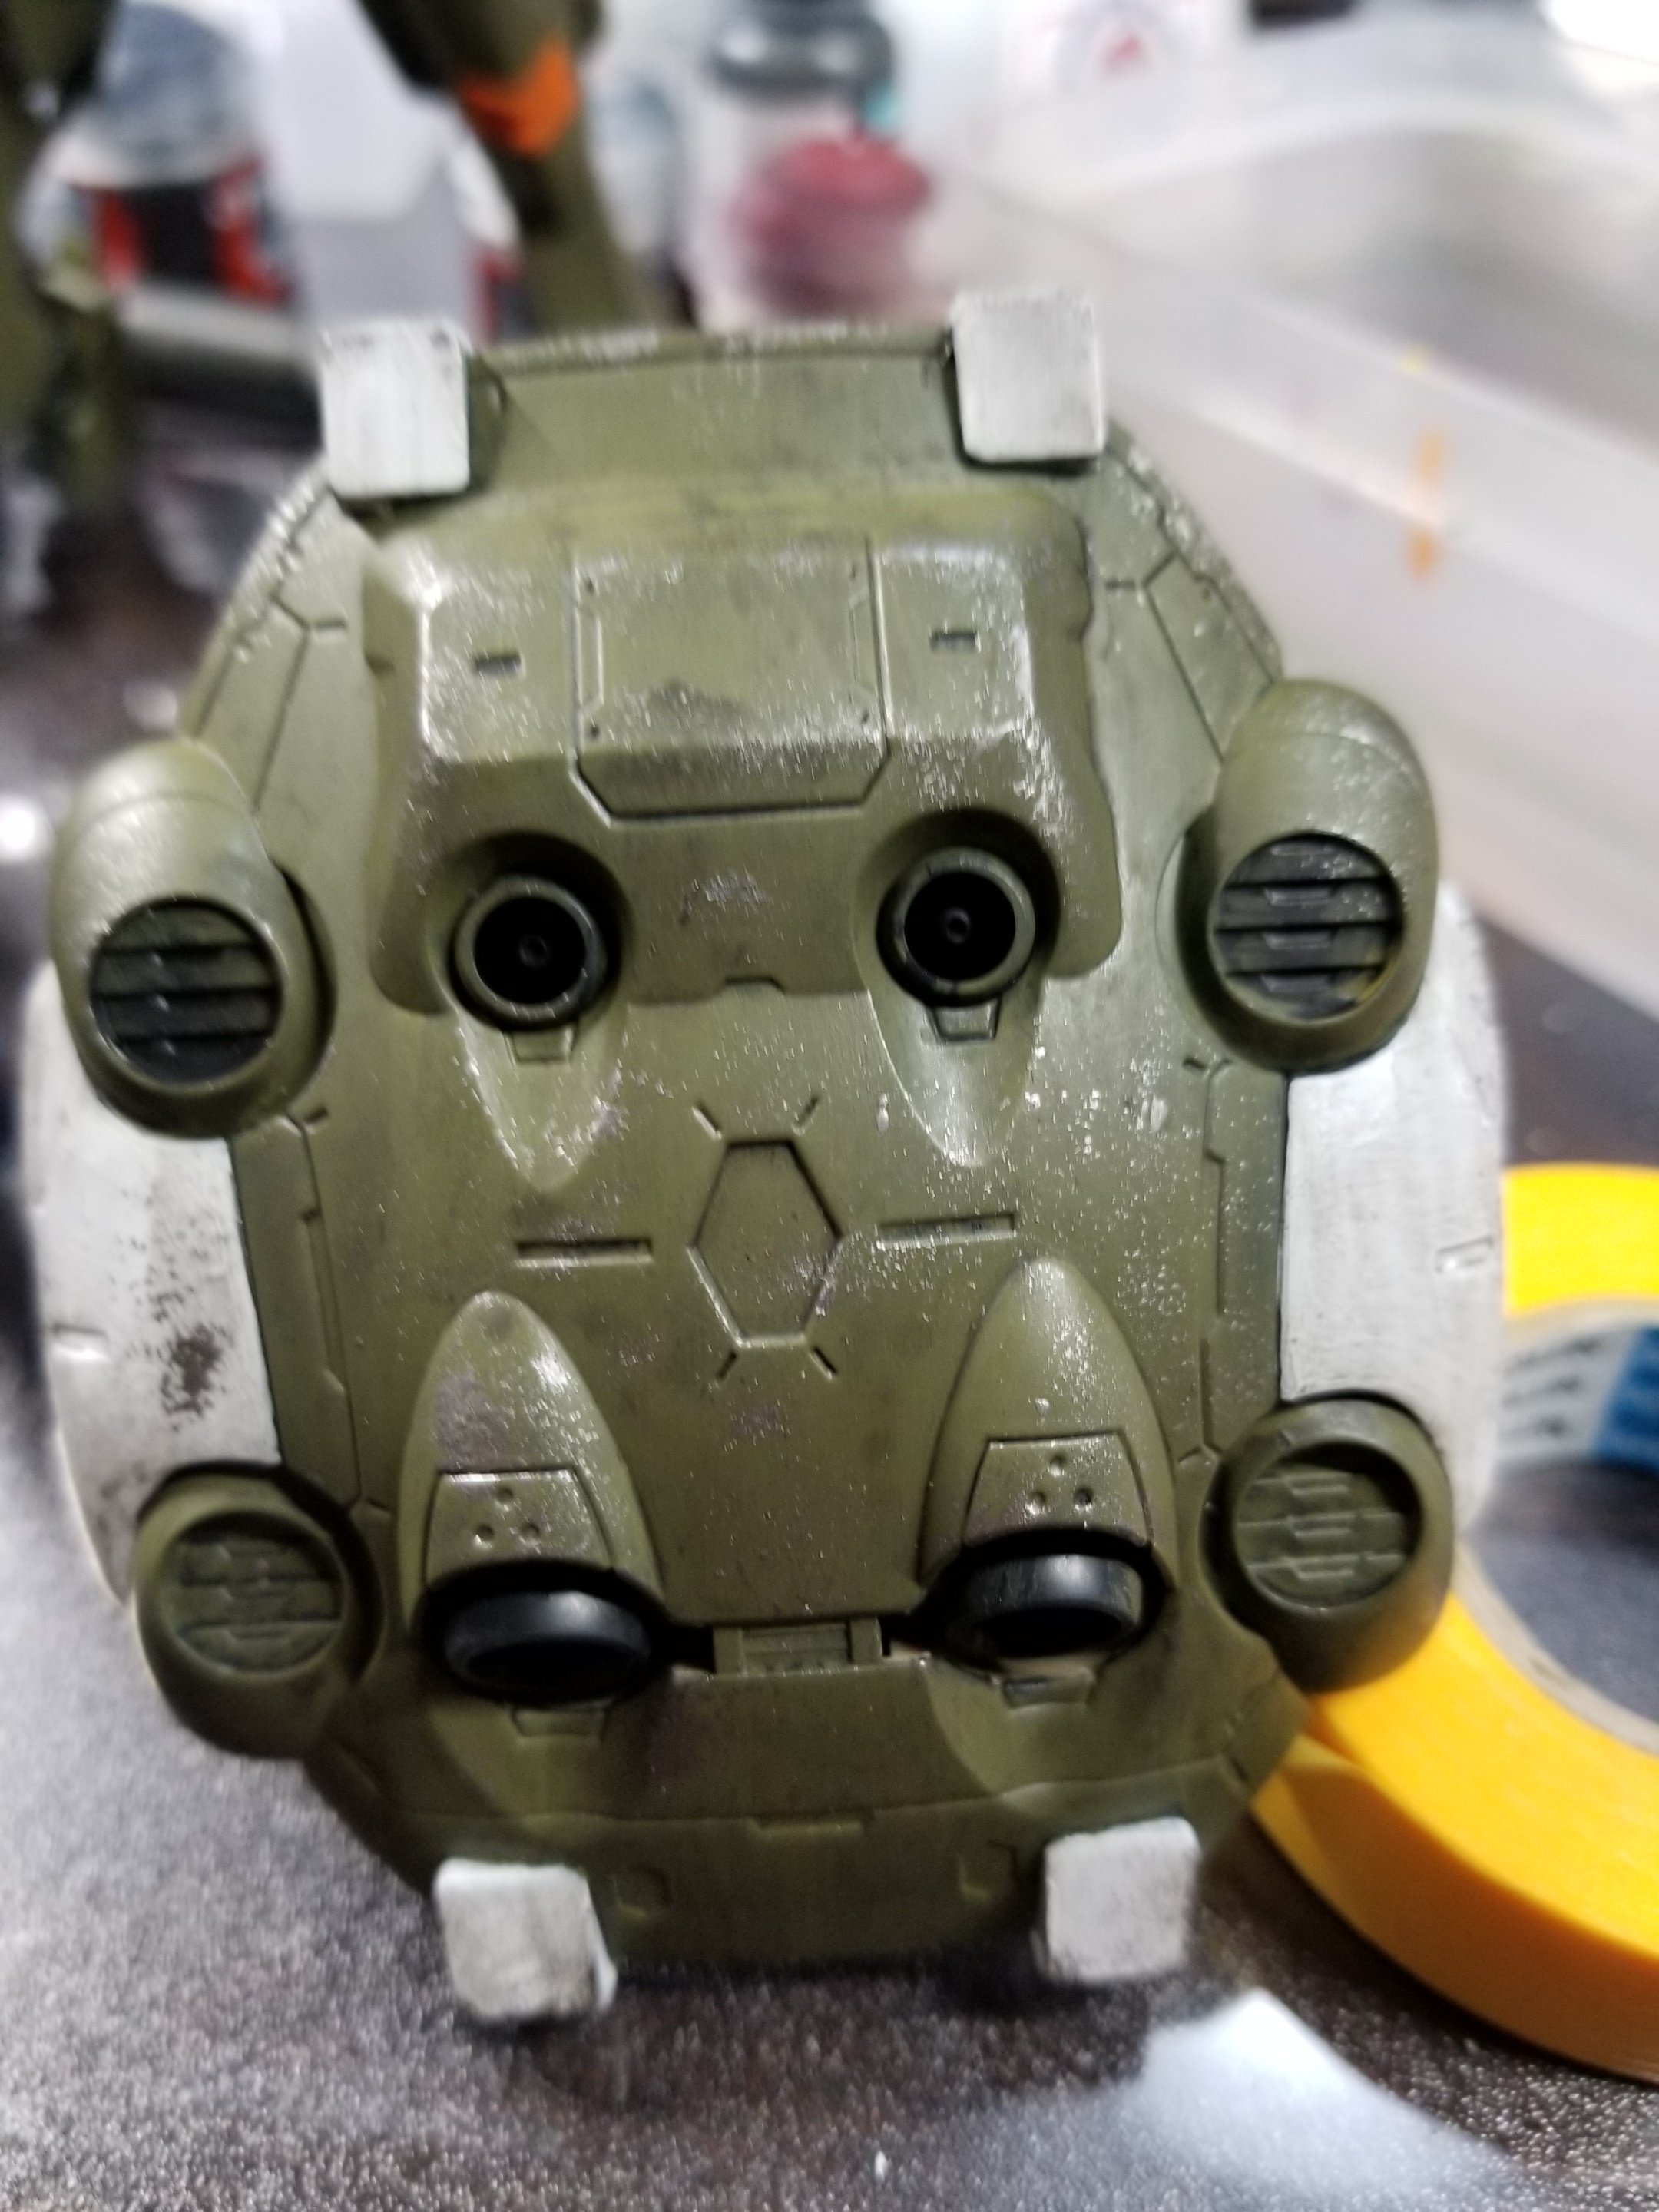
続いてシェイド。

水で2倍くらいに薄めてビシャビシャ。
この時、シェイドの水溜まりができないように注意。
もしできた場合ですが…こうなります。
これを下地と同じ色でドライブラシでリカバリー。
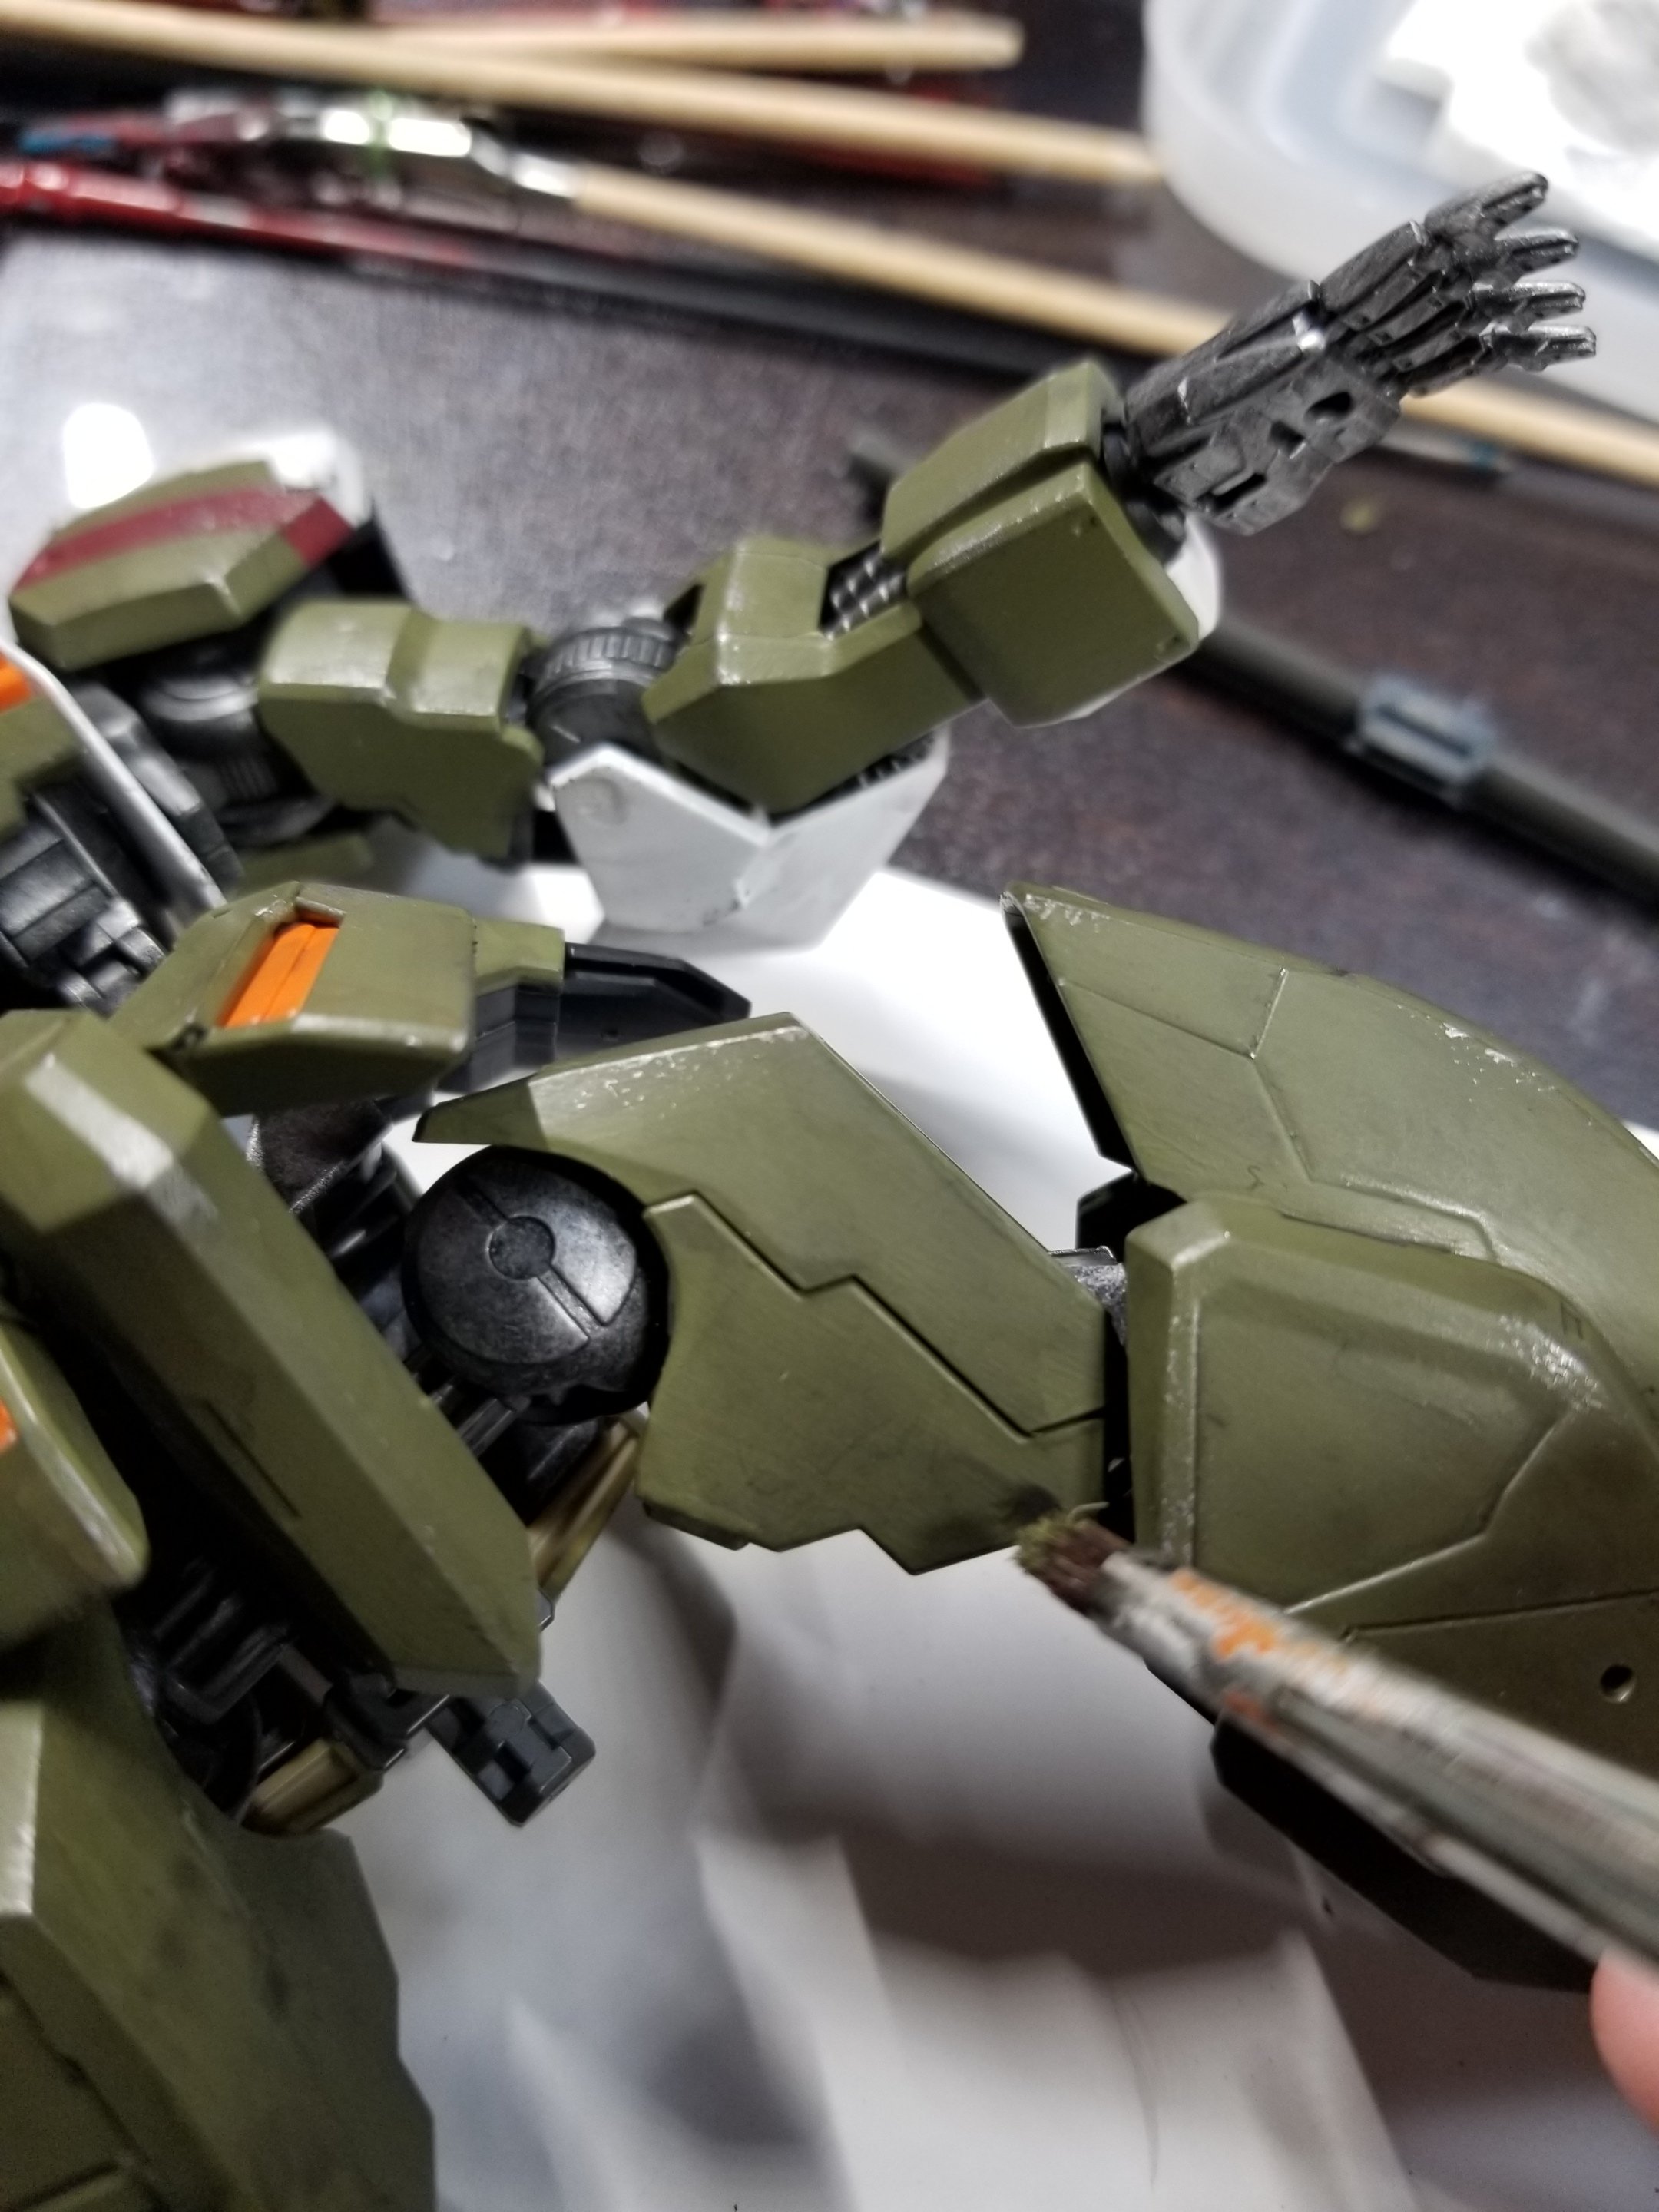
多少は目立たなくなります。
予防法としては水溜まりができそうになったら水気を取った筆で広げて散らす。
といった感じでしょうか。
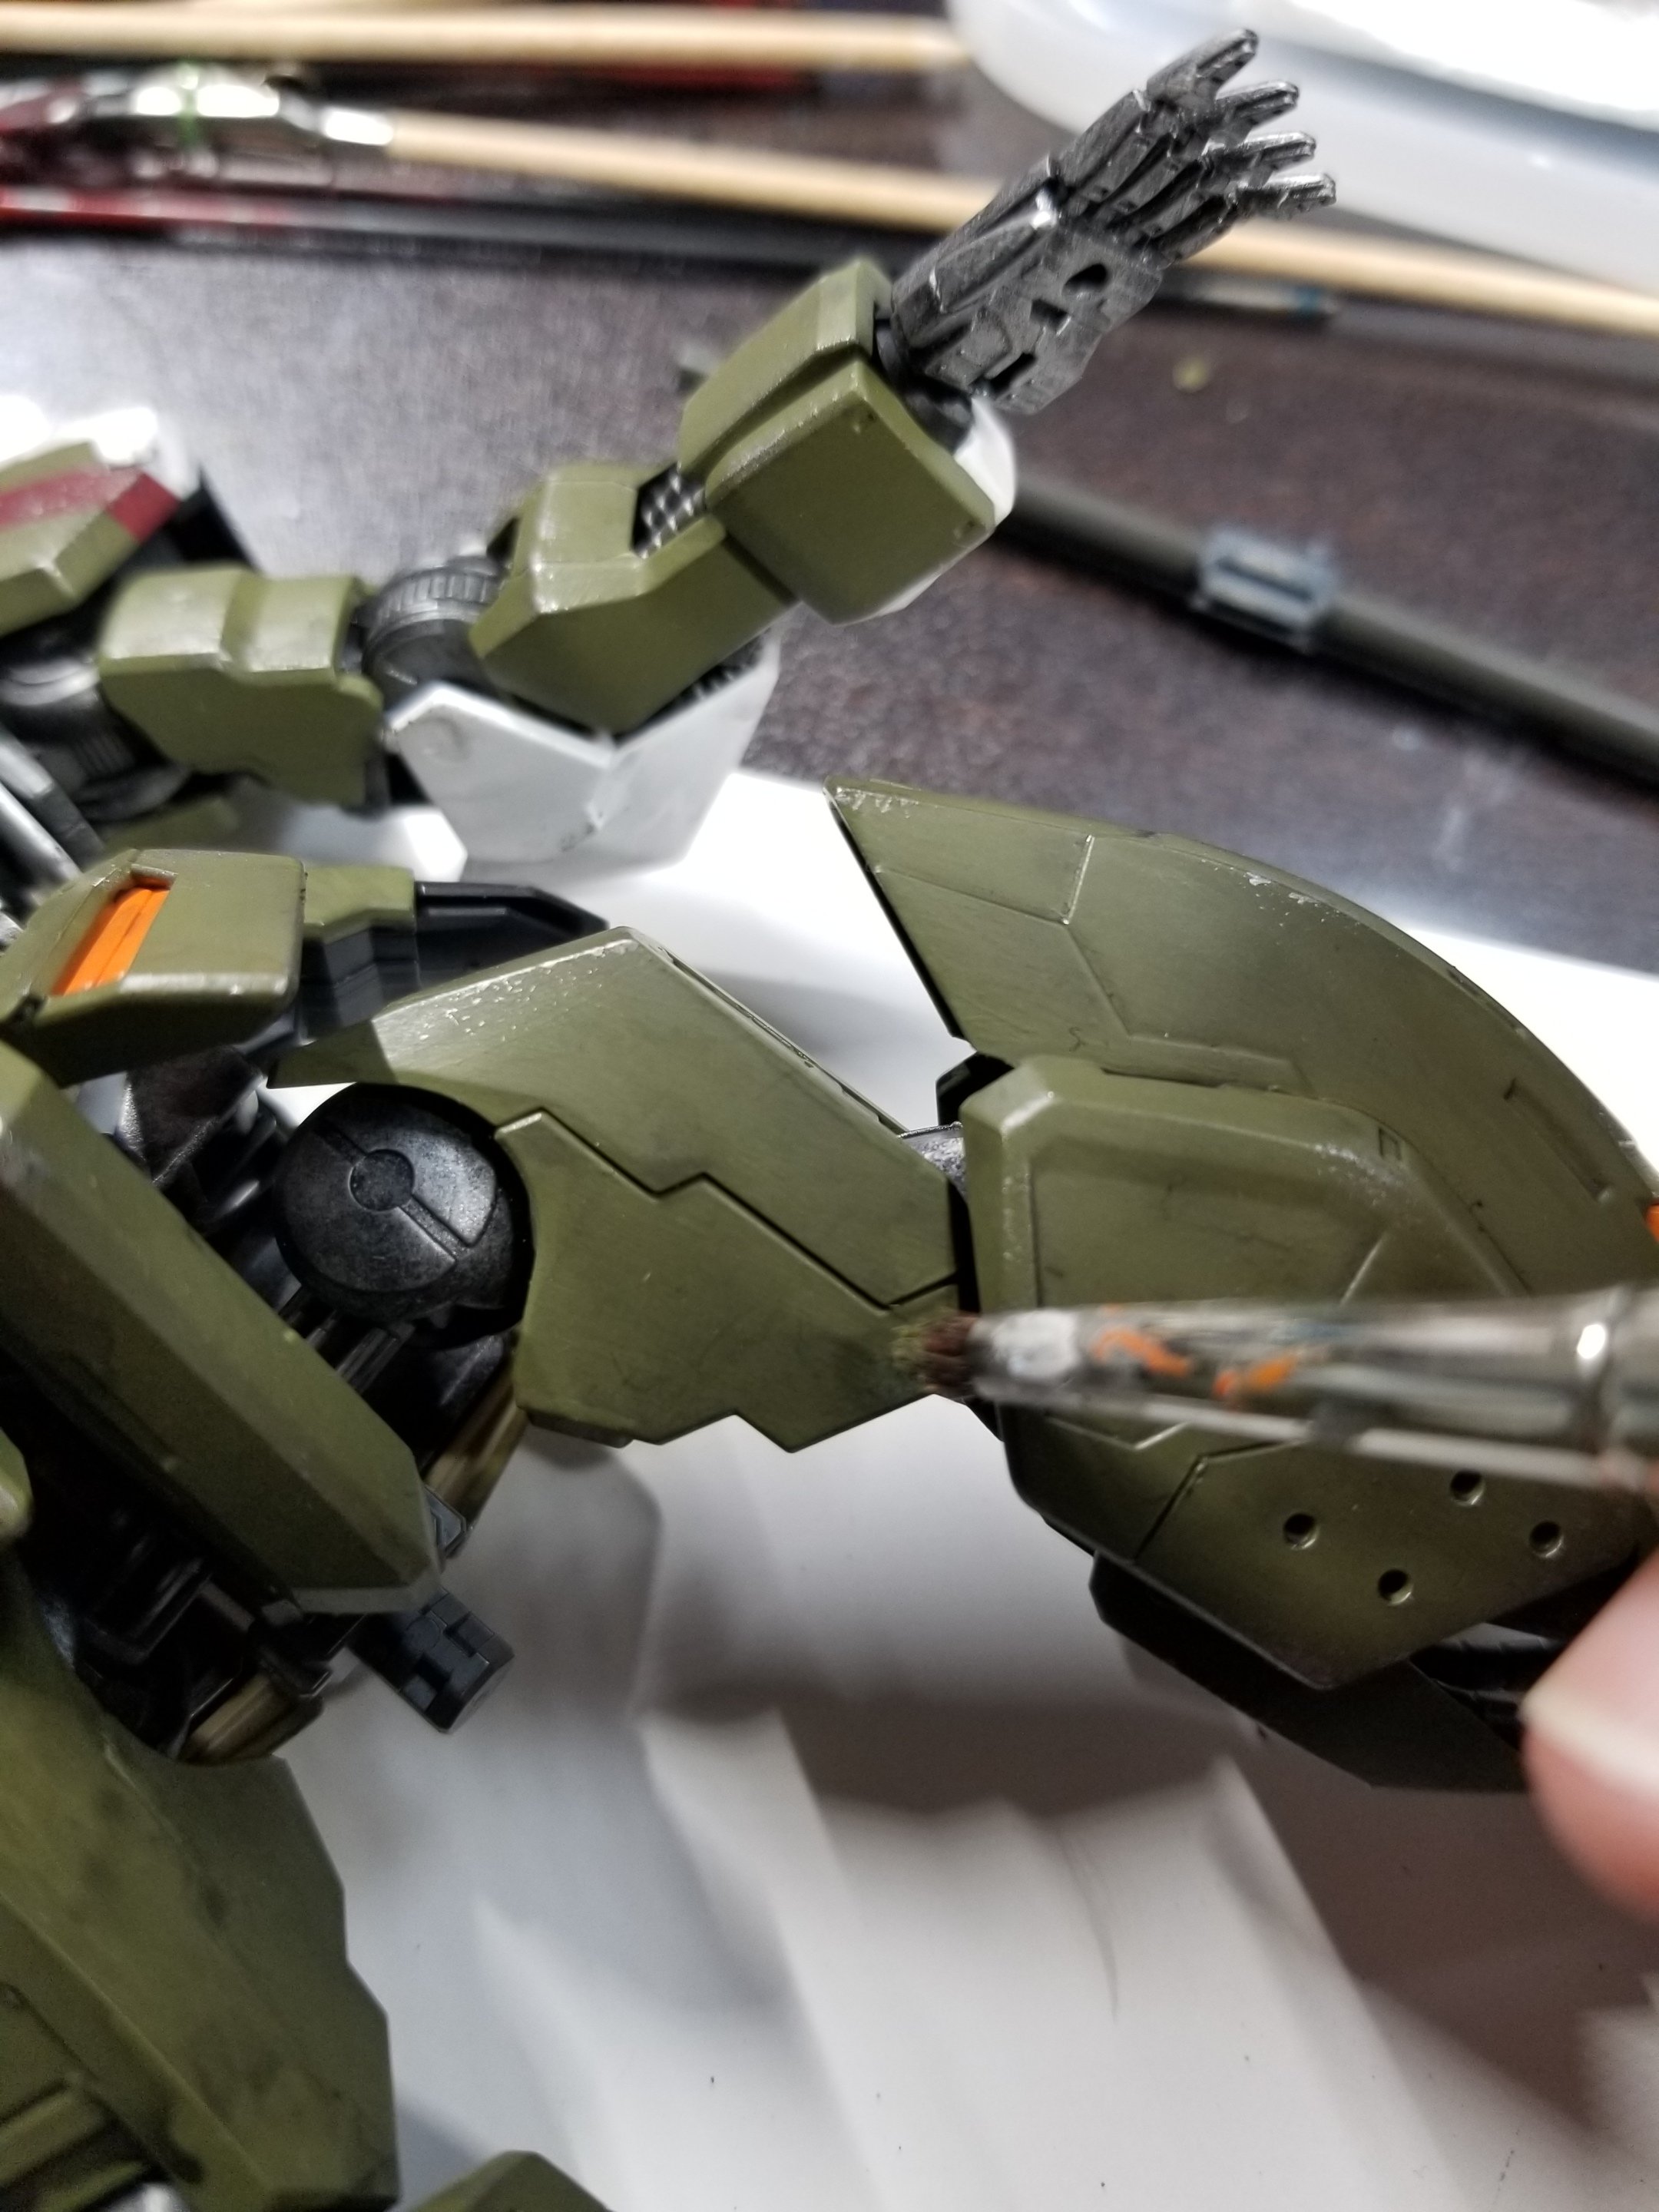
それから土汚れっぽさを出すためにアグレックスアースシェイドでもう一度シェイディング。
シールドはこんな感じ。
完成!
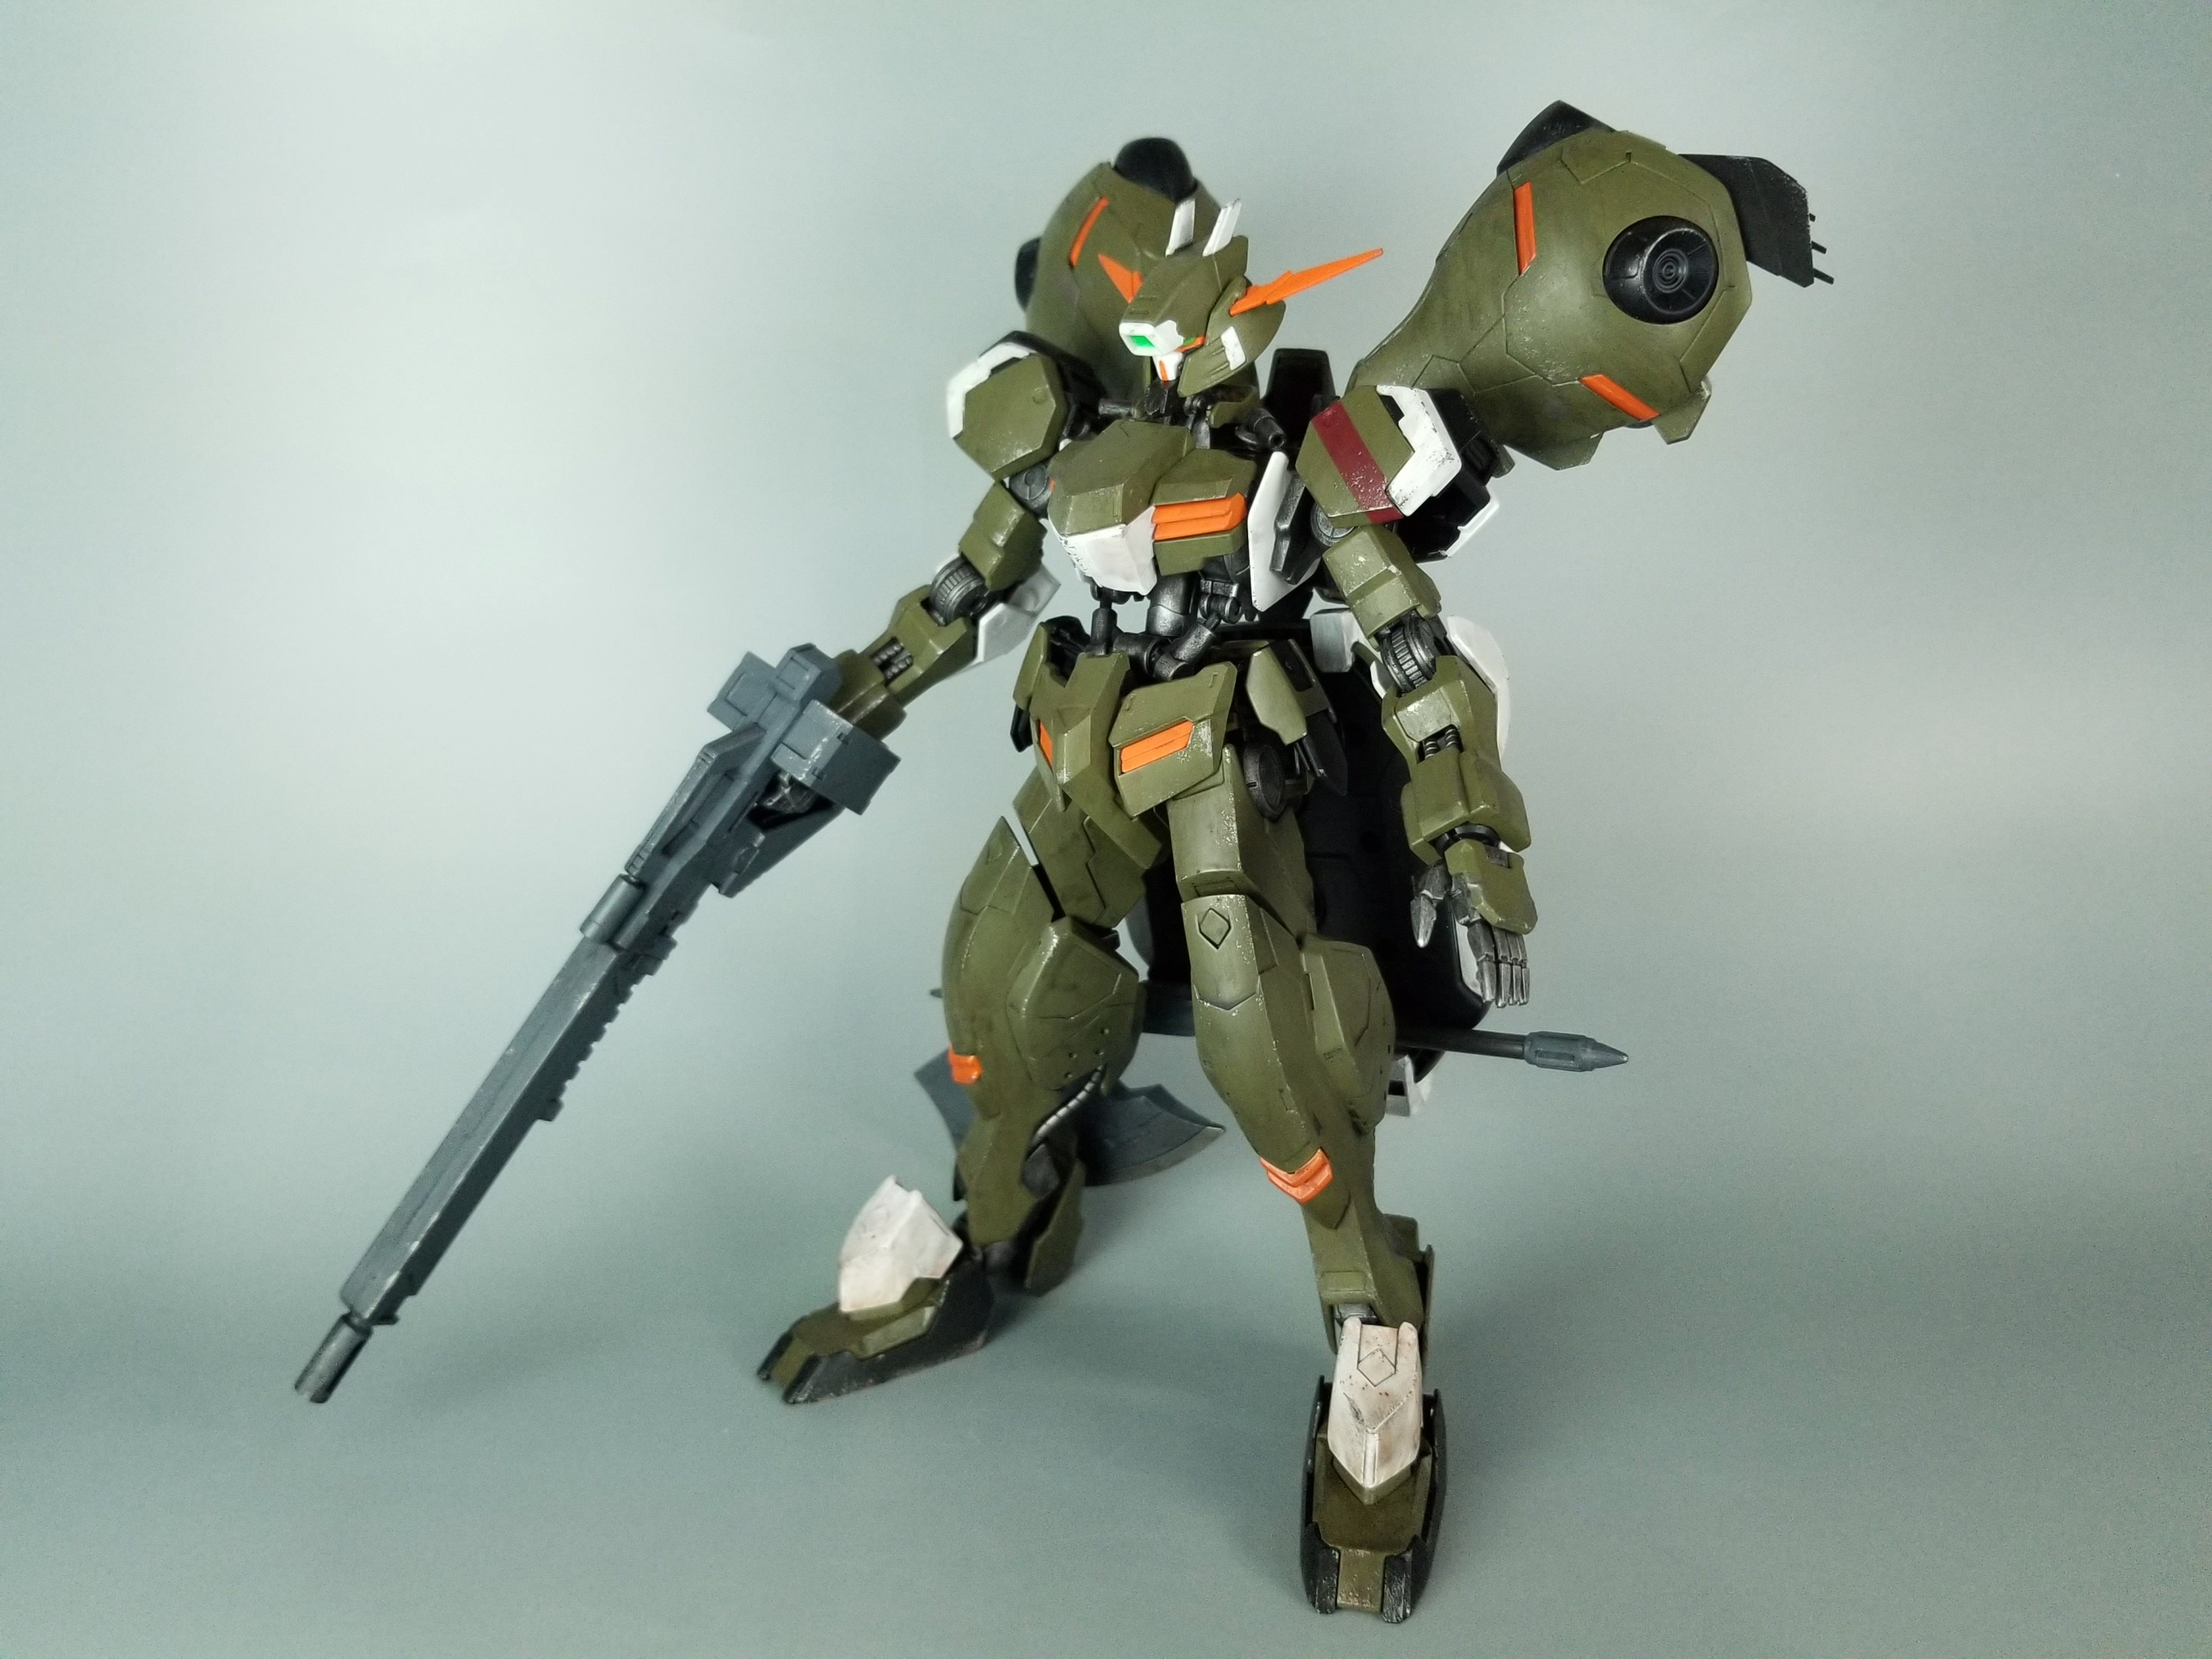
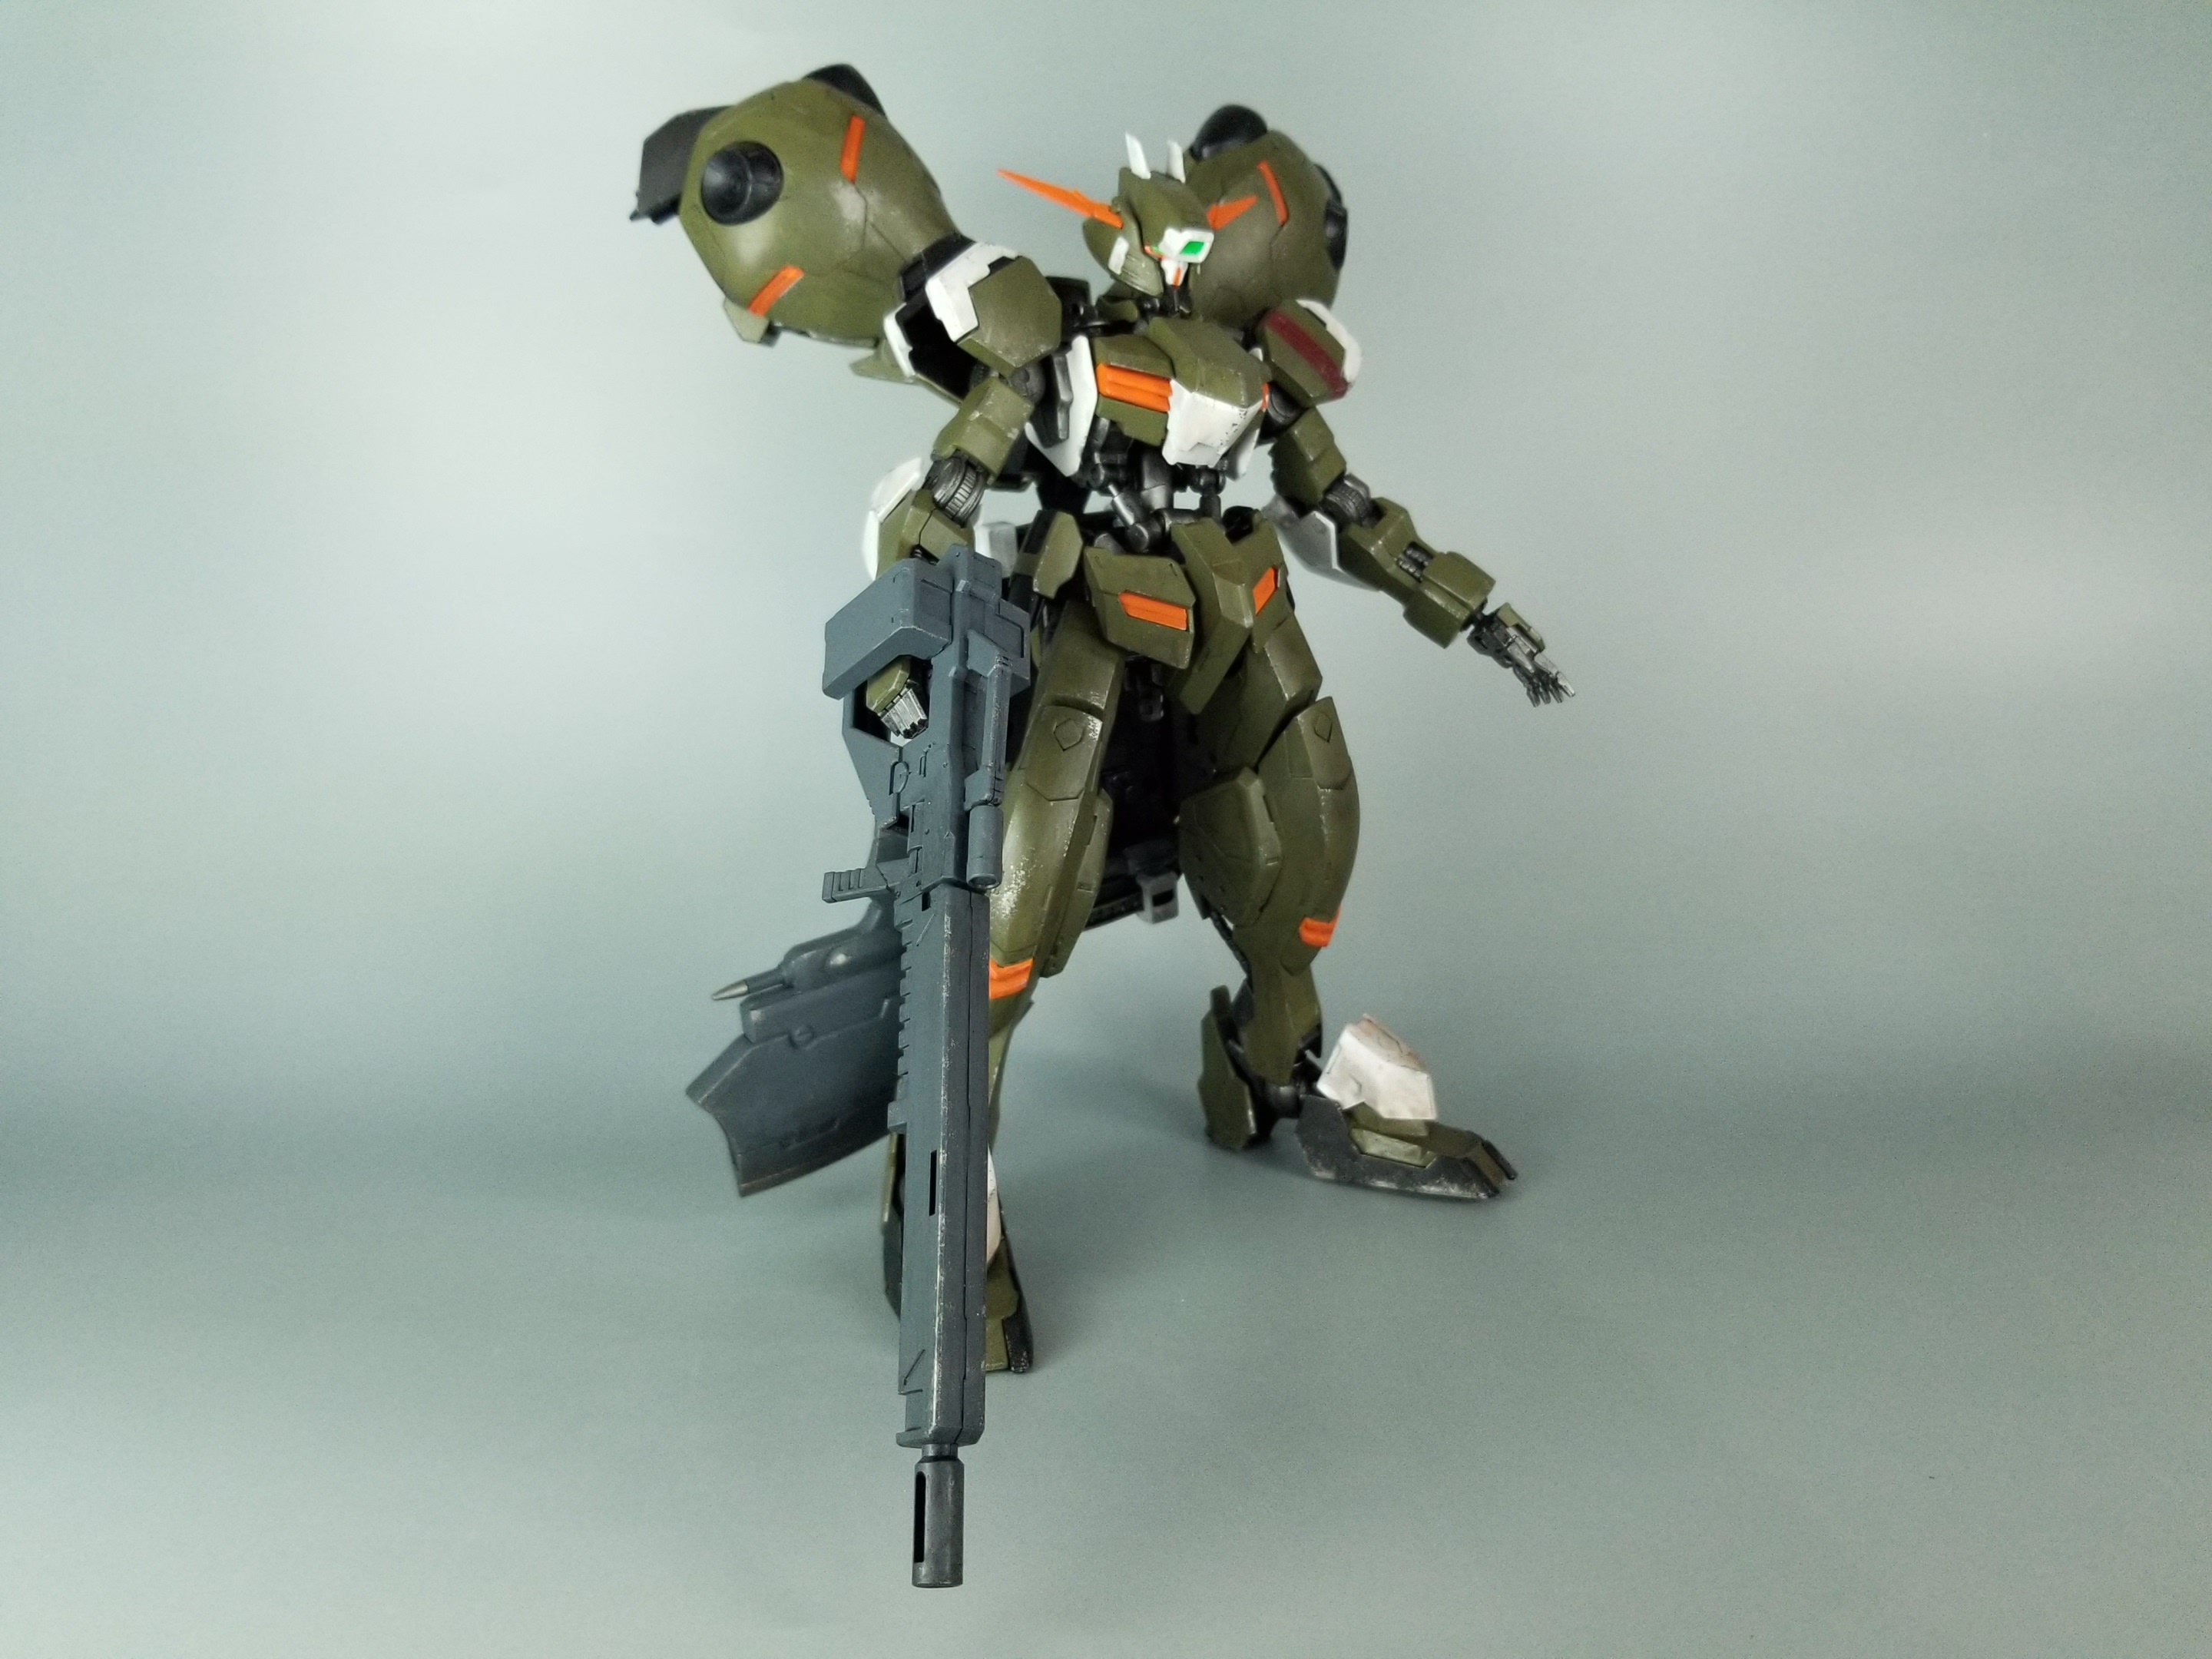
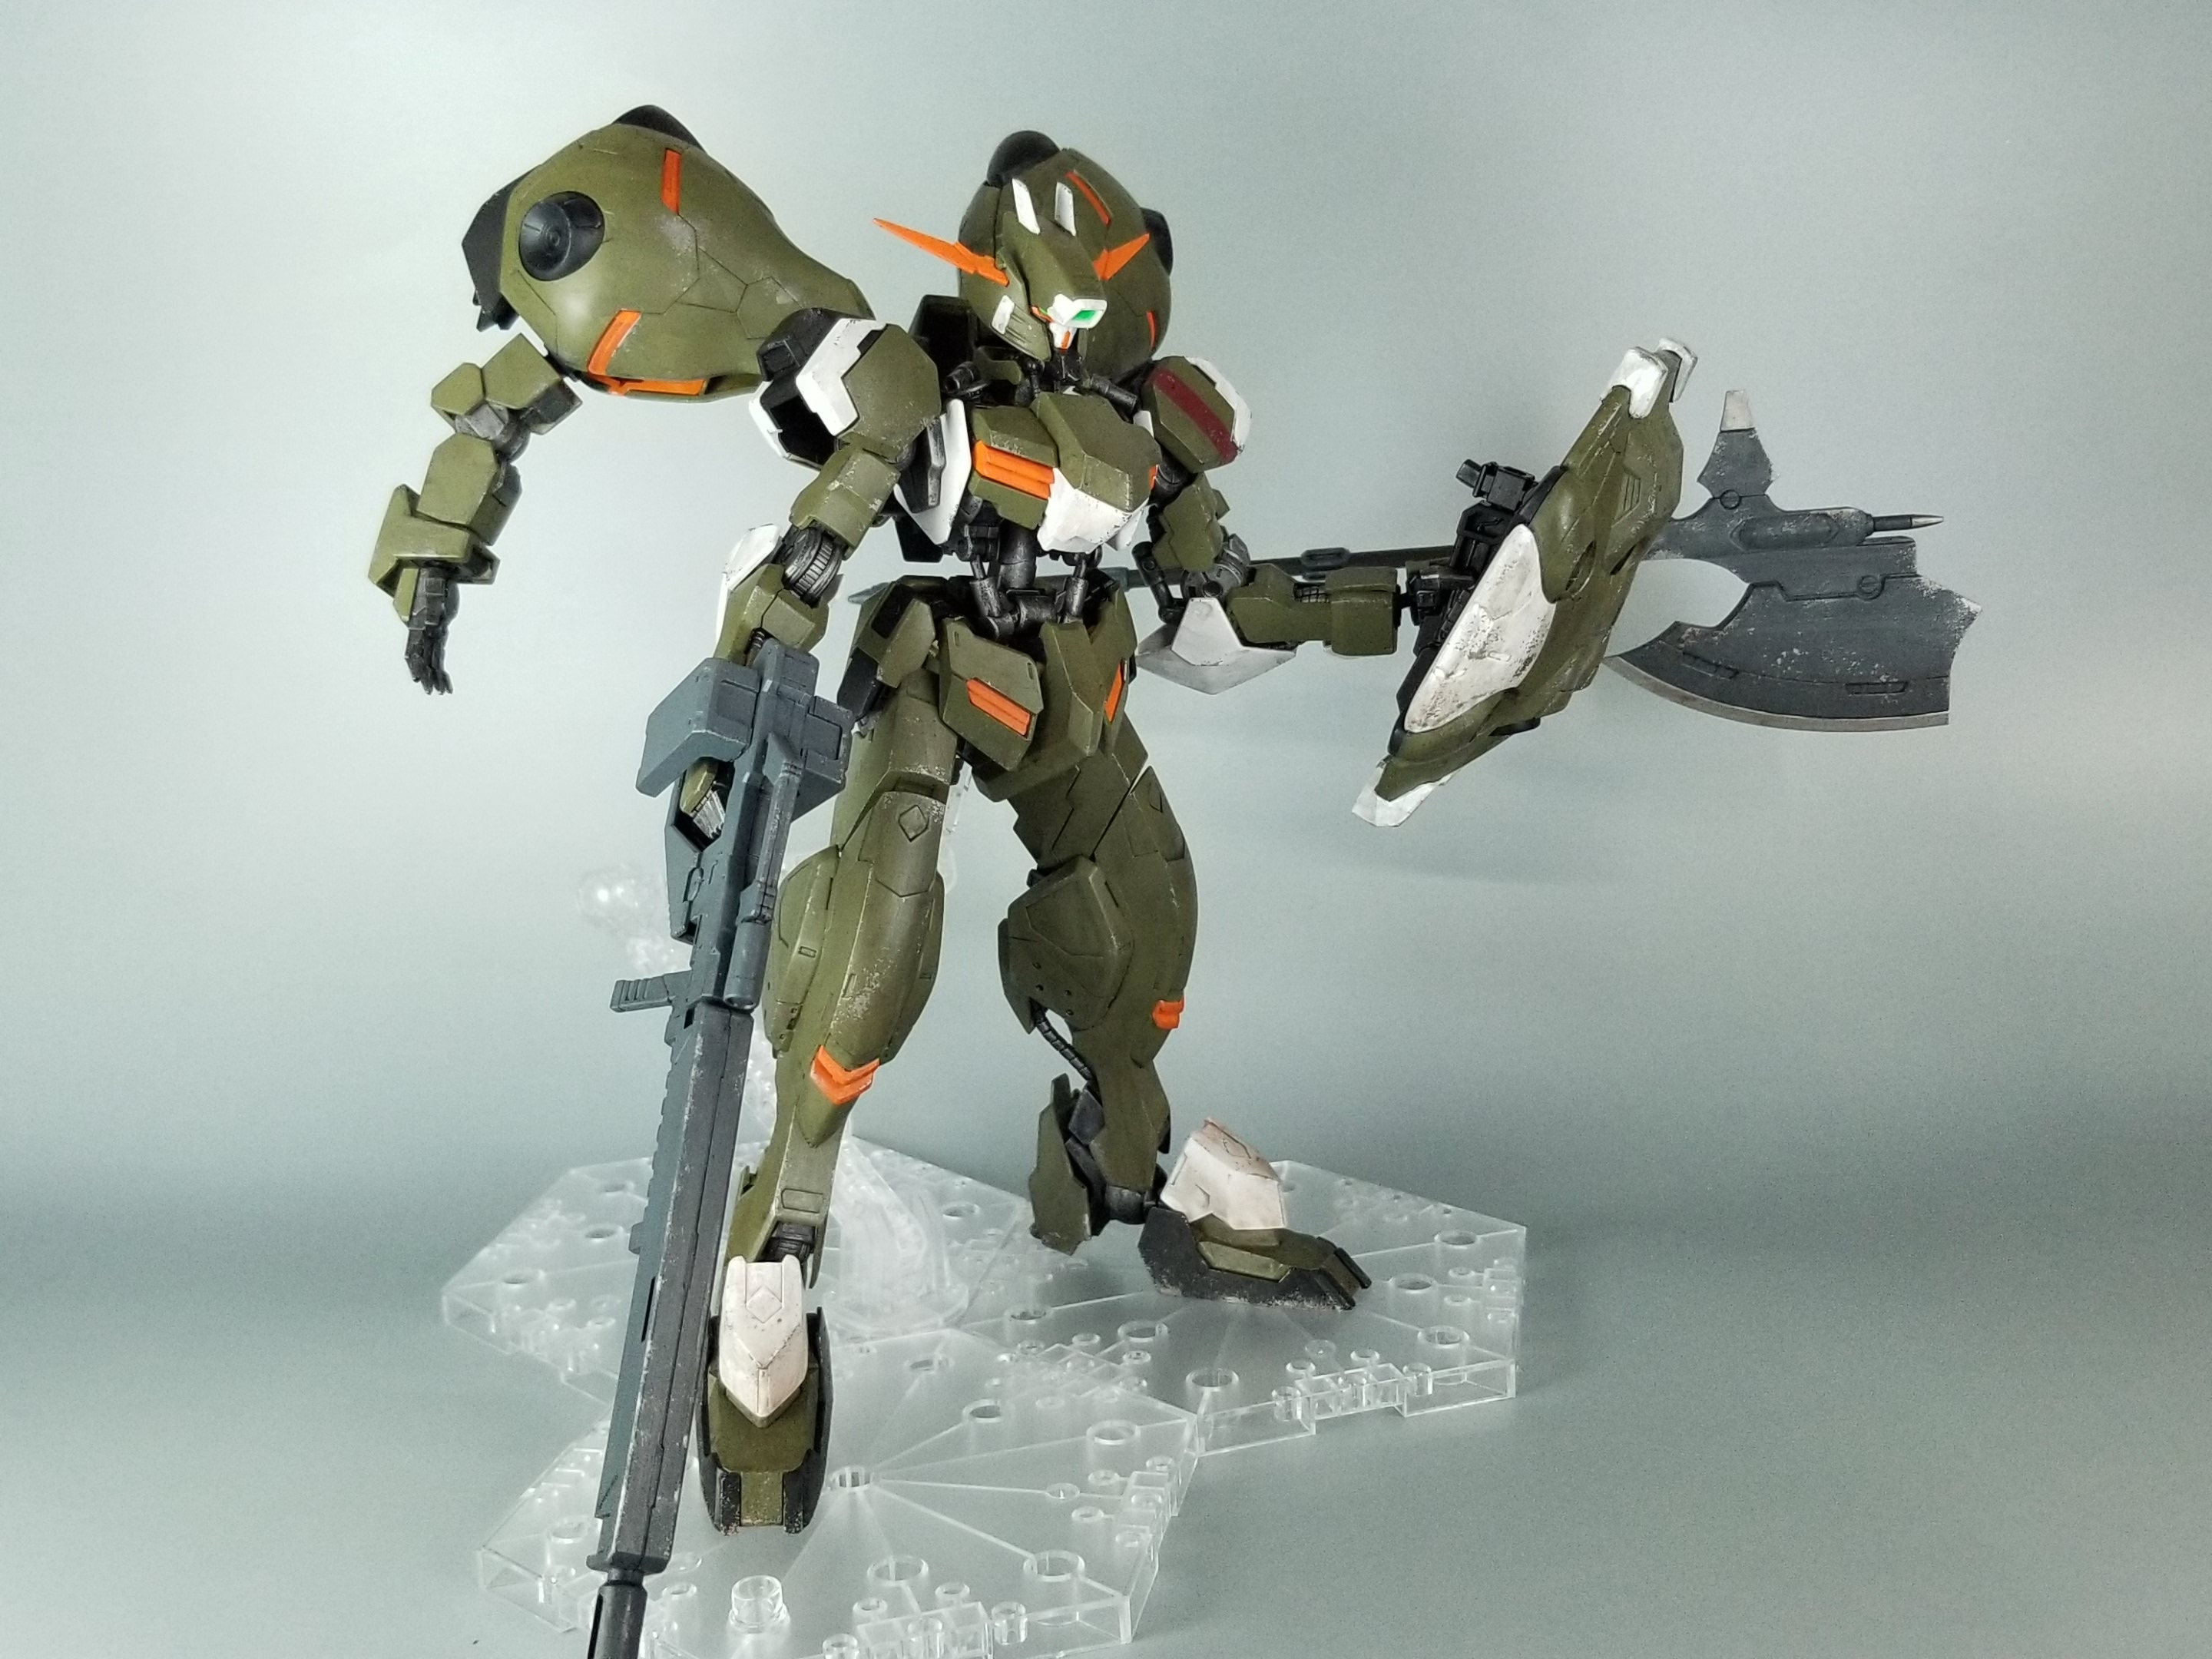
楽しくチッピングができました。
シェイドも良い感じでたまには汚すのもありですね。
ではではー。


コメント